Creating a session in the portal is straightforward, as all of the session configuration has already been defined through the Hub. You will have the option to create a single session or to create sessions in bulk by uploading a CSV file.
For each session, you will need to provide:
- A name
- An email address
- A reference code for your own tracking purposes (optional)
- Automated email reminders to users (optional)
- Press Create session and select Create a single session
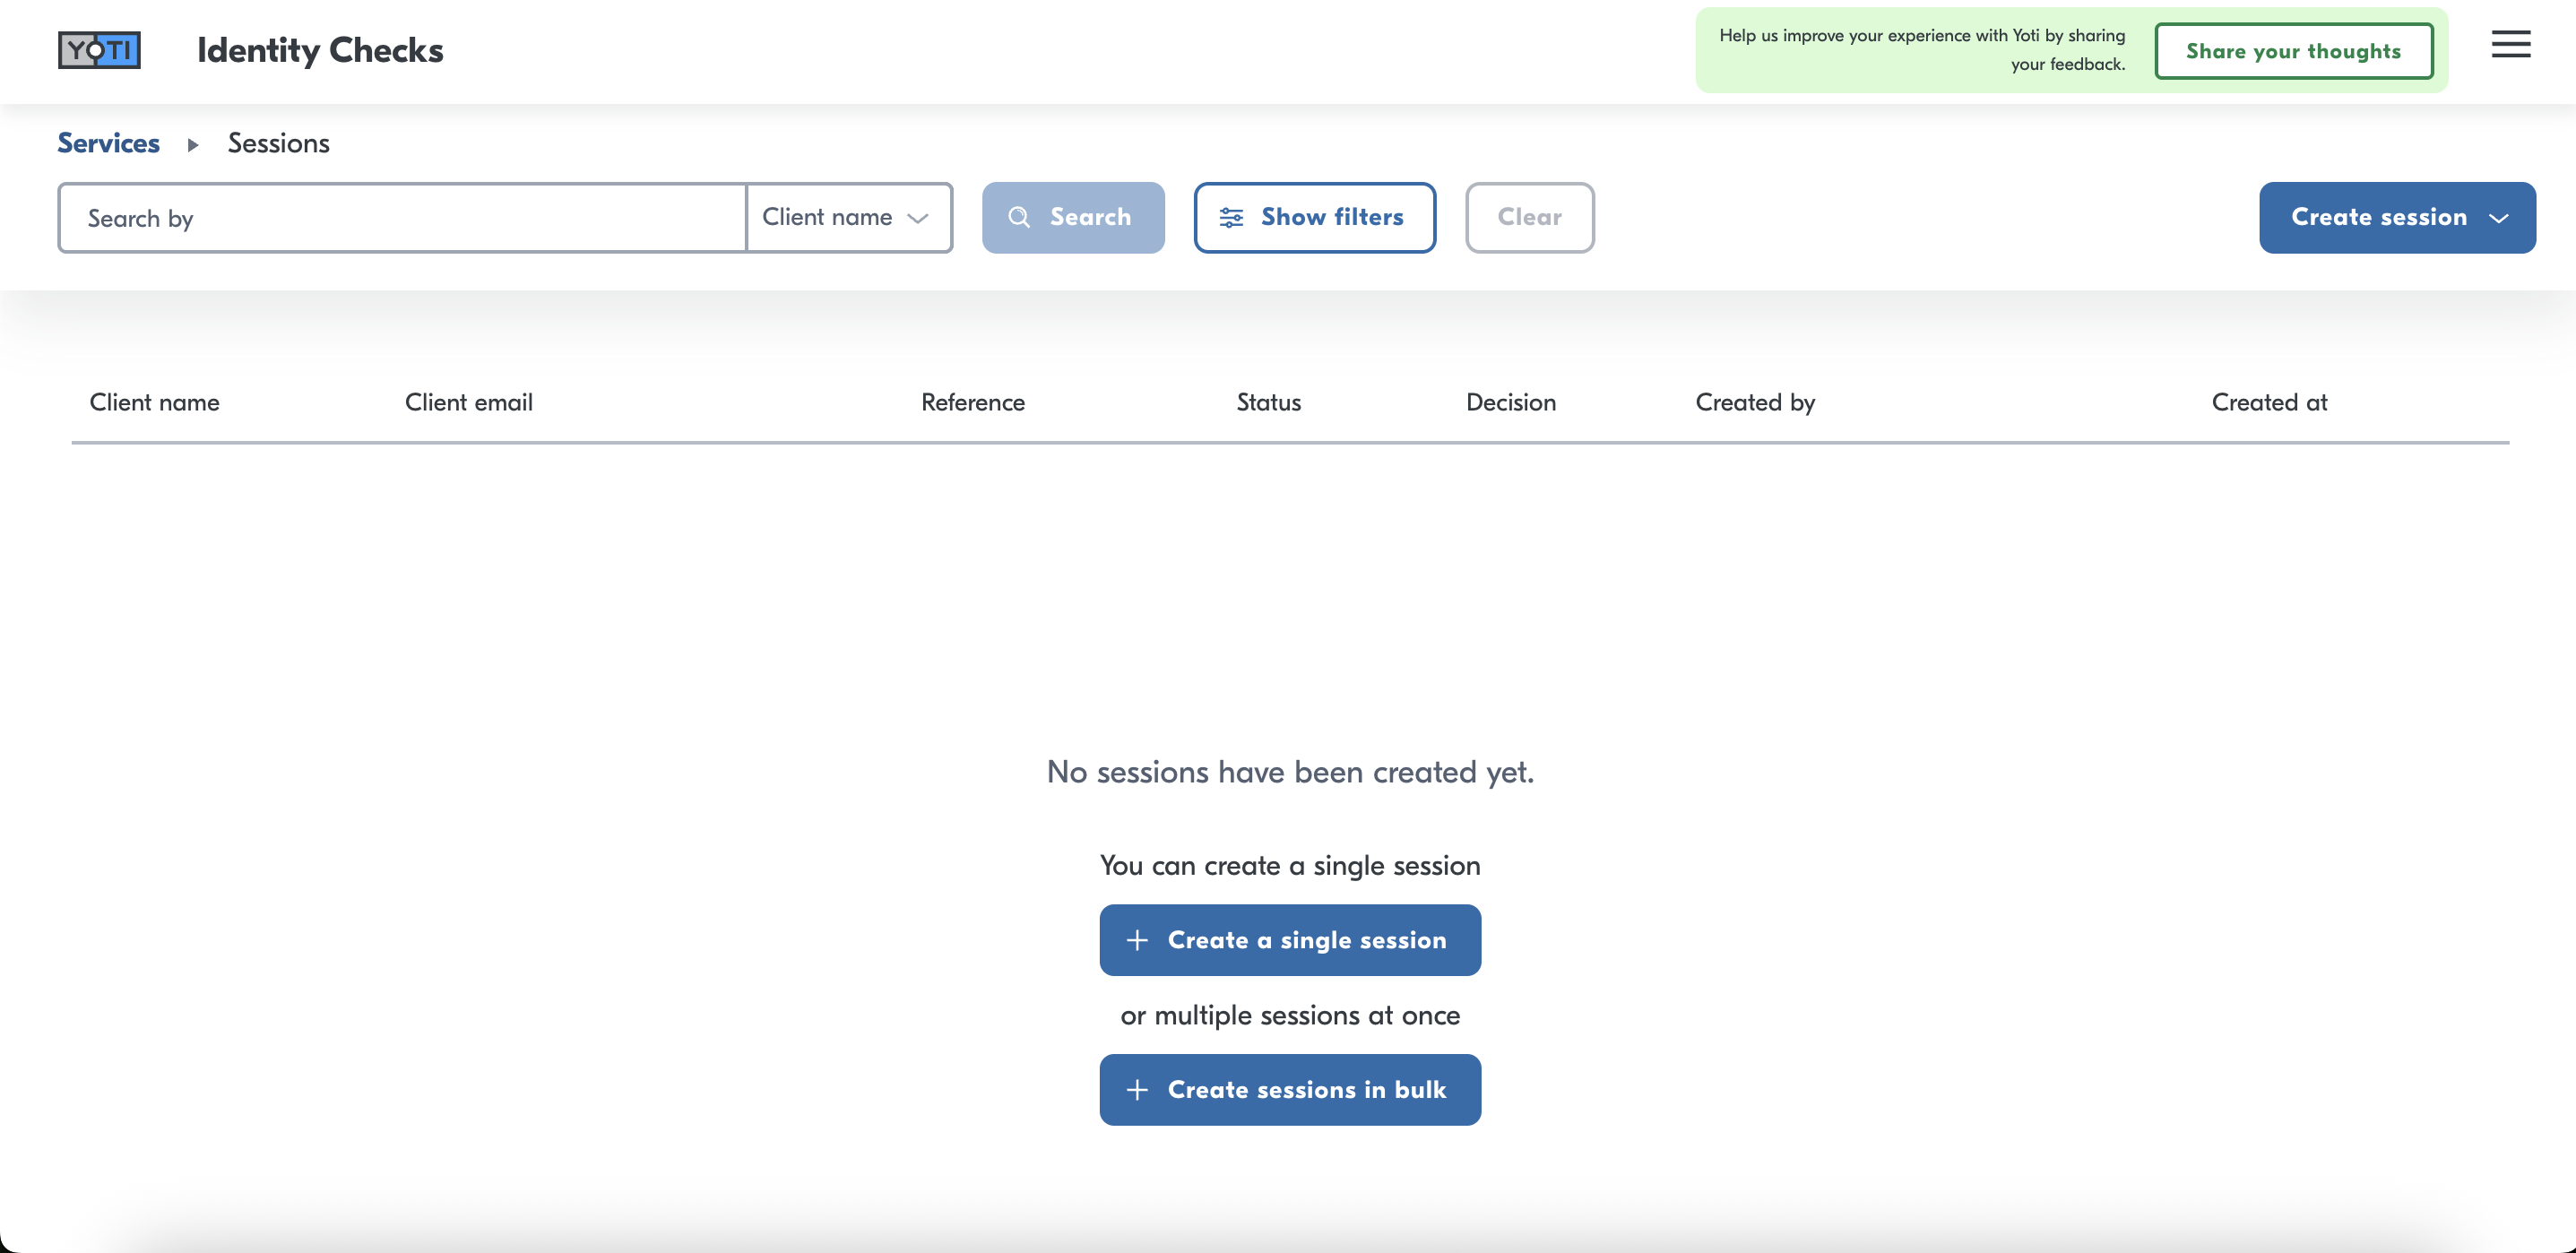
Create a session.
- Enter the user's name, email address and optionally a reference for them.
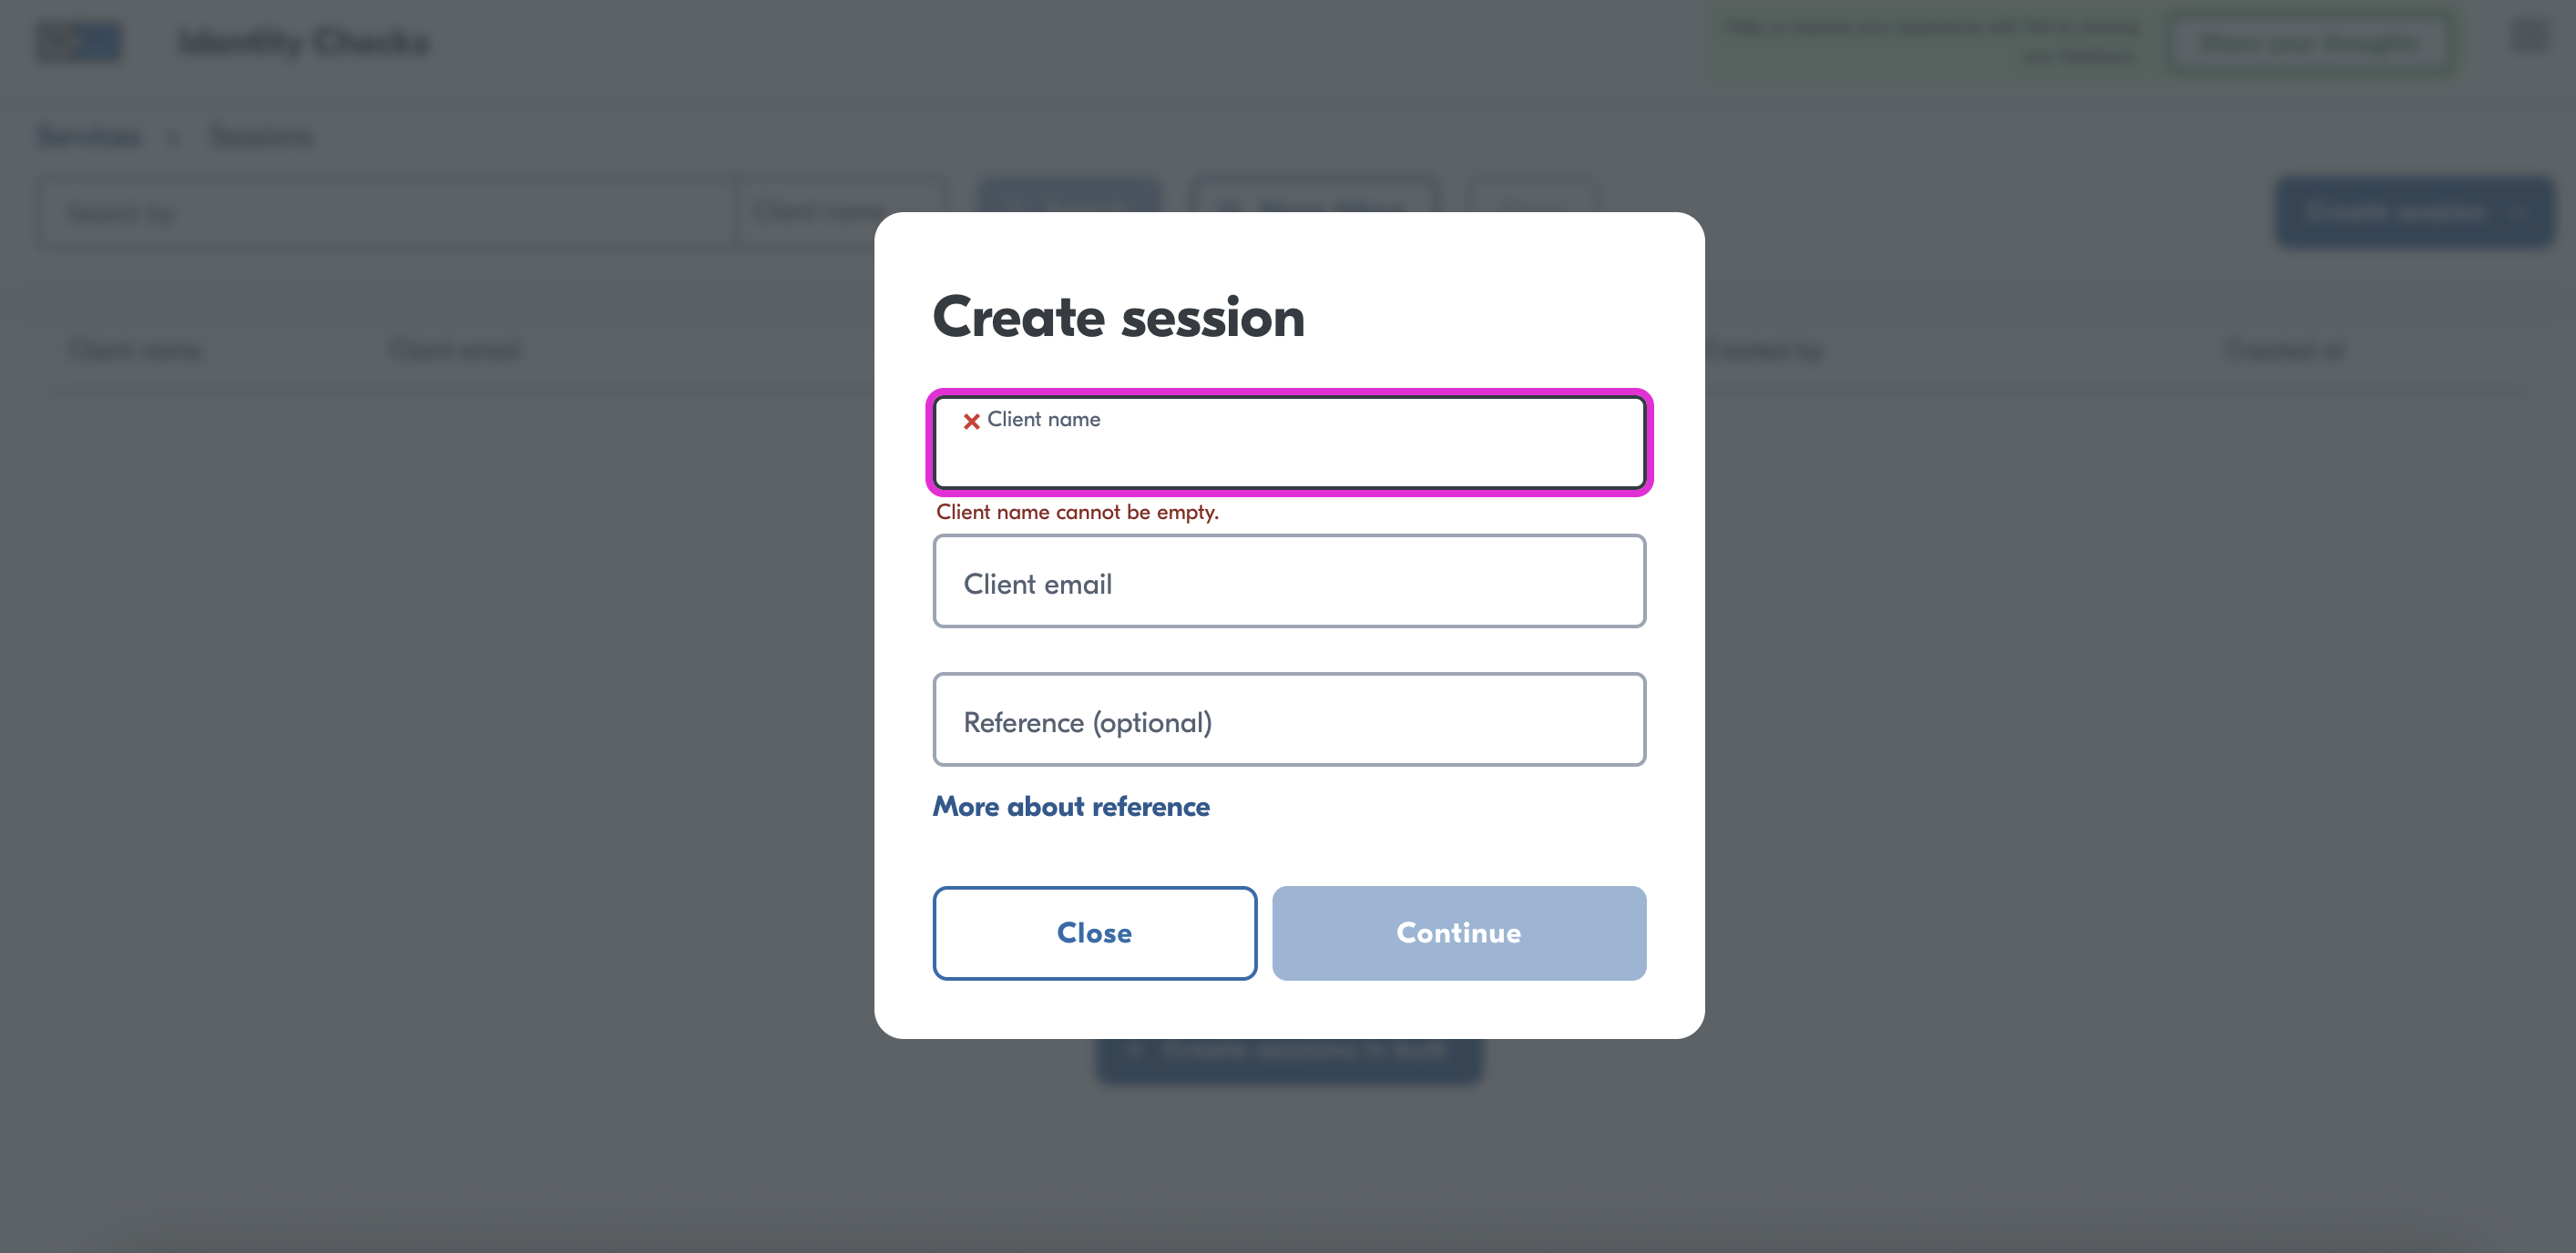
Enter user information.
You may send the session URL to the user separately, or allow us to send the session to your user using our email template.

Choose to send session to the user automatically or separately.
You may set up automated reminders to your users for the completion of their IDV sessions by scheduling up to 6 automated reminders:
- Define the hours(6,12,18) and days(1-30) after session creation when reminders should be sent.
- Save preferred reminder schedule for future sessions.

Set up automated email reminders.
When you have created a session, you will be see a button on a sessions details page to copy the session link. This link will need to be sent to your user.

This must be completed by the user. They will complete the end to end session, see below for example of the flow.
Most of our clients create an email template provided with context on what the session is and how to complete this. If you need a hand on this please Get in touch.
Create sessions in bulk
Alternatively to creating a single session, we give you the option to create sessions in bulk for numerous individuals. To do this you must click on the "create session in bulk" option.
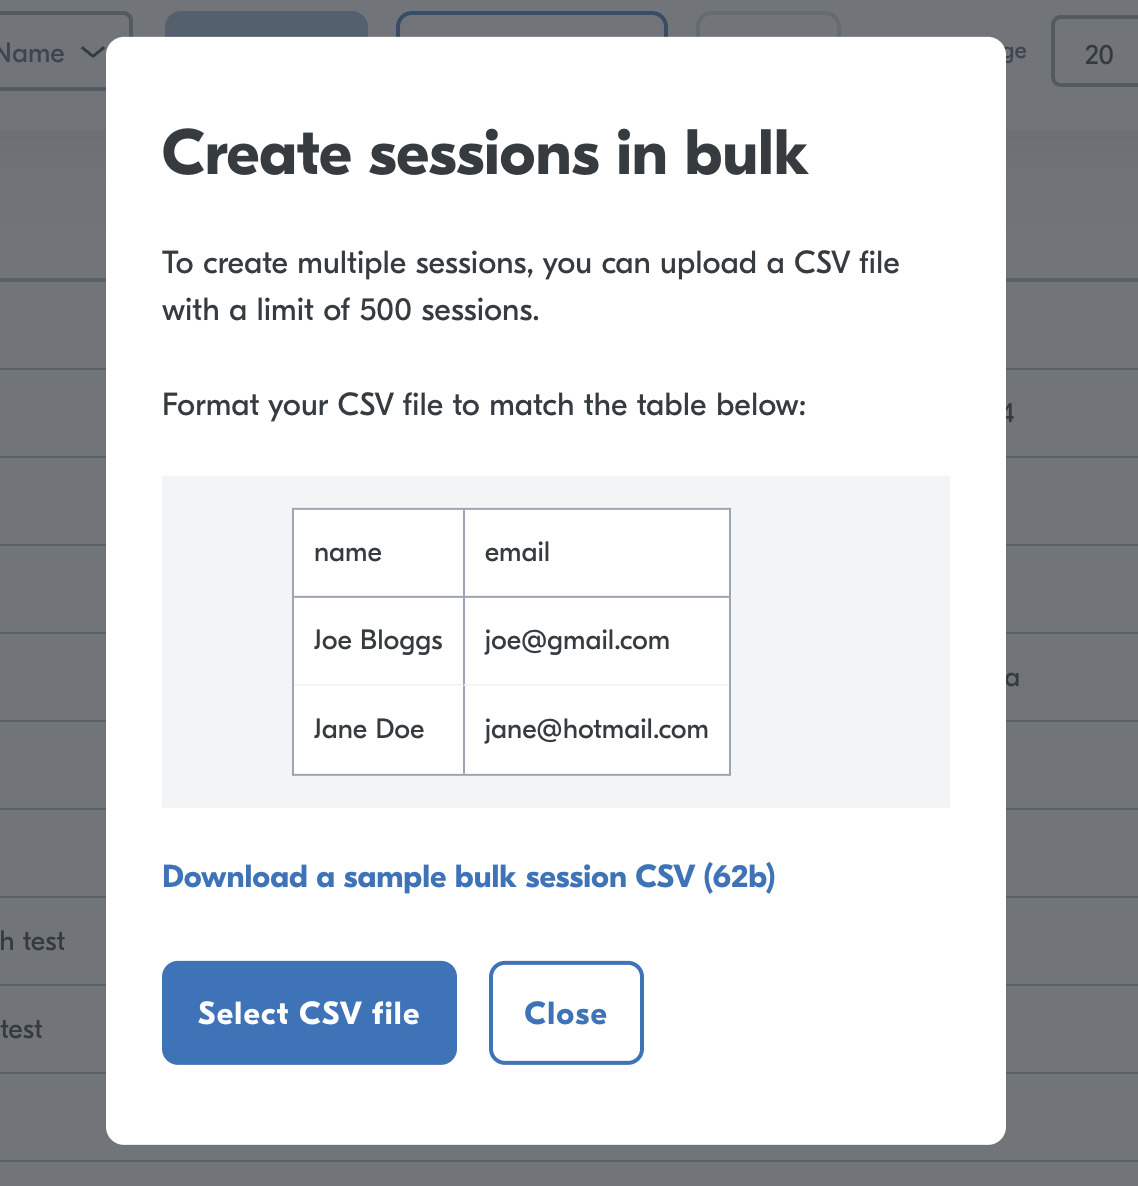
You must upload a csv file with your candidates names and emails in separate columns. Once the csv file is uploaded we will automatically create all the session links for you.
View the session
If you would like to see progress on your session you can search by email, name or select the session you are interested in:

Session
Click the session you are interested in:

Session > Session details
You can then expand each of the checks to see the overall results. For example:
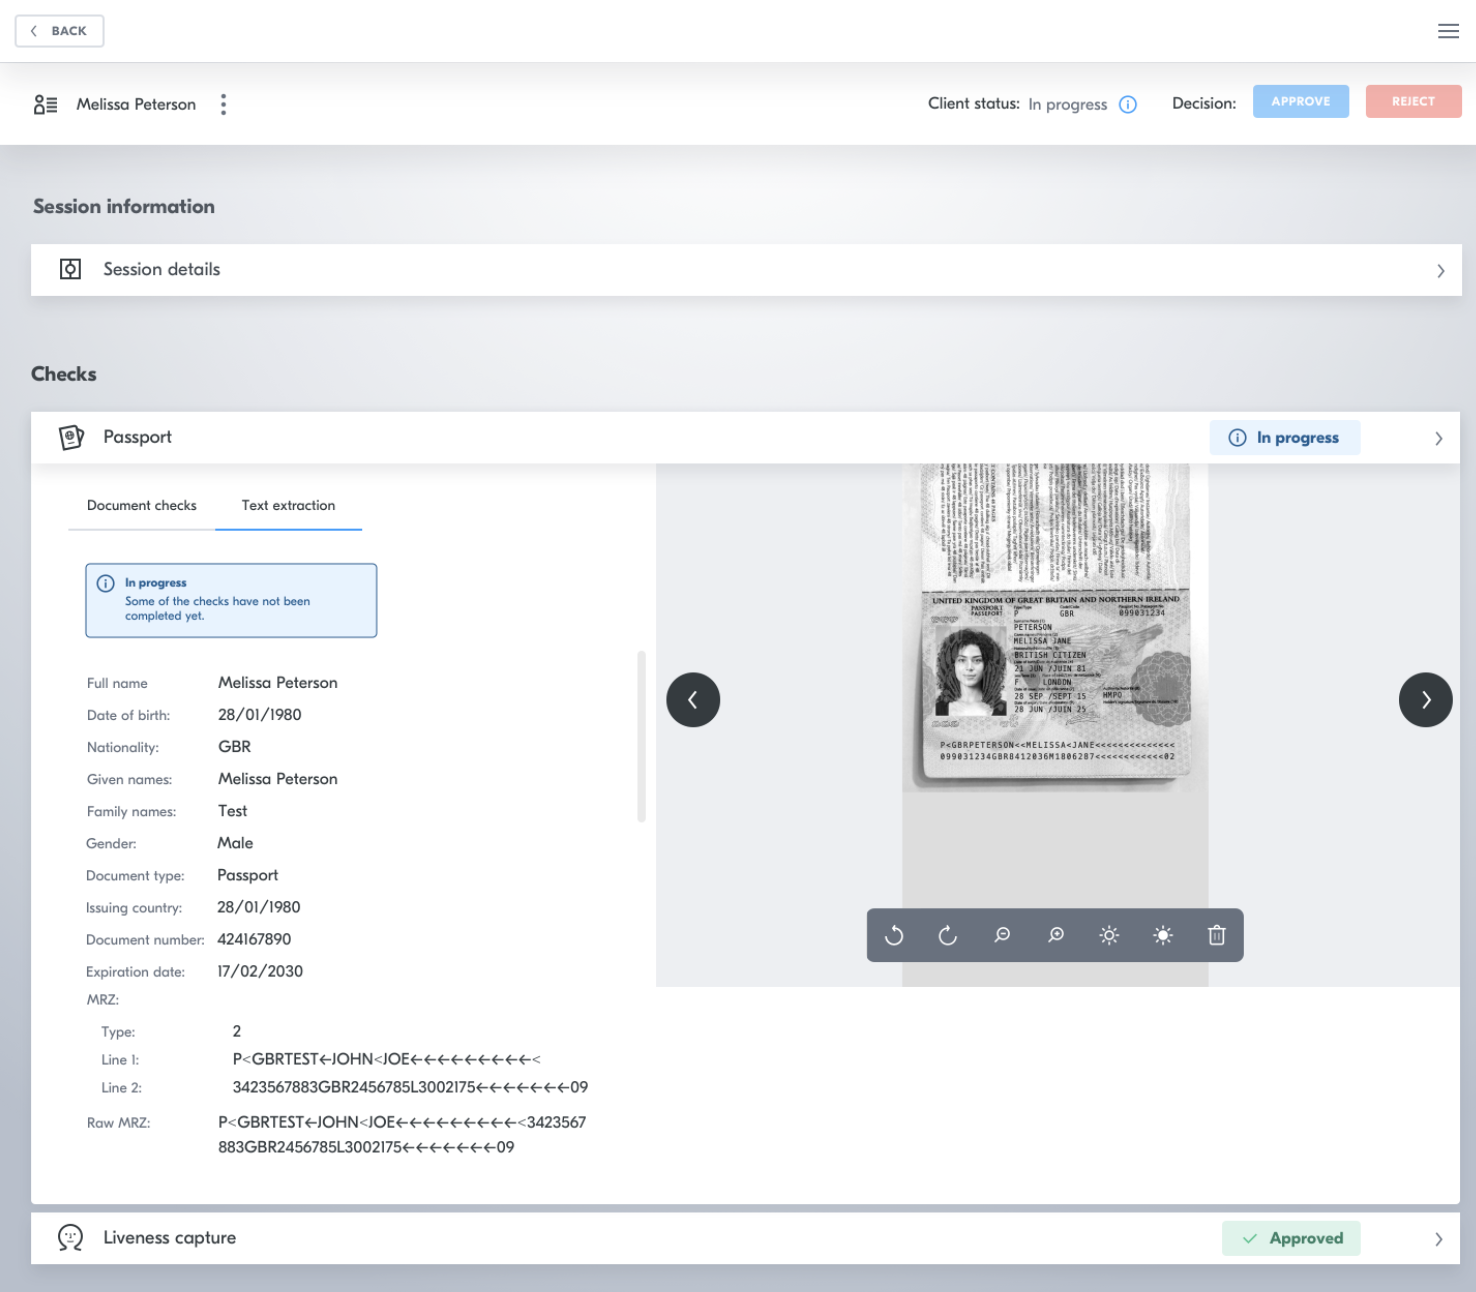
Session > Session details > Passport
See the next section to understand these results.
Manual Email Reminders
In addition to configuring email reminders at the creation of session, you can also send instant manual reminders to nudge the user right away.
- Go to the session information page by selecting a session. Press the "Manage emails" button on the top right corner.

Send instant email reminders to users by selecting "Manage emails".
You may trigger an instant email reminder to nudge the user. To ensure an optimal end user experience, reminders (both automated and manual) cannot be sent less than 3 hours apart. You will also have full visibility of reminder schedule in this window.
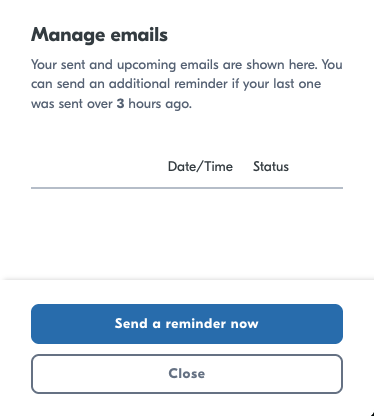
Send an instant reminder to the users and check the reminder schedule.