Create an application
Yoti provides a portal that allows you to use our Identity verification service without doing any technical integration.
You will be able to create Identity verification sessions to send to your customers using our new user friendly product without using a line of code! Before you can do that, an application needs to be created in the Yoti Hub.
Log into the Yoti Hub
- Open the Yoti Hub on a desktop or laptop.
- Scan the QR code using your Yoti app.
- Complete the registration on the Yoti Hub.
Create an application
Here, you will have to create an Identity verification application in the Yoti Hub. To create your application:-
- Click the applications tab in the side menu.
- Choose which product you would like to integrate with, select Identity verification here.

Create an application
- After this, press the Continue button.
- Fill in the 'Details' tab - including your application name and logo, then click Create.
| Details | Explained |
|---|---|
| Application Name | This is the name of your application in the hub and is used to differentiate between each application in the portal. |
| Technical contact (optional) | This is the contact Yoti can contact you for changes, updates and feedback. |
- You will now see the following screen:
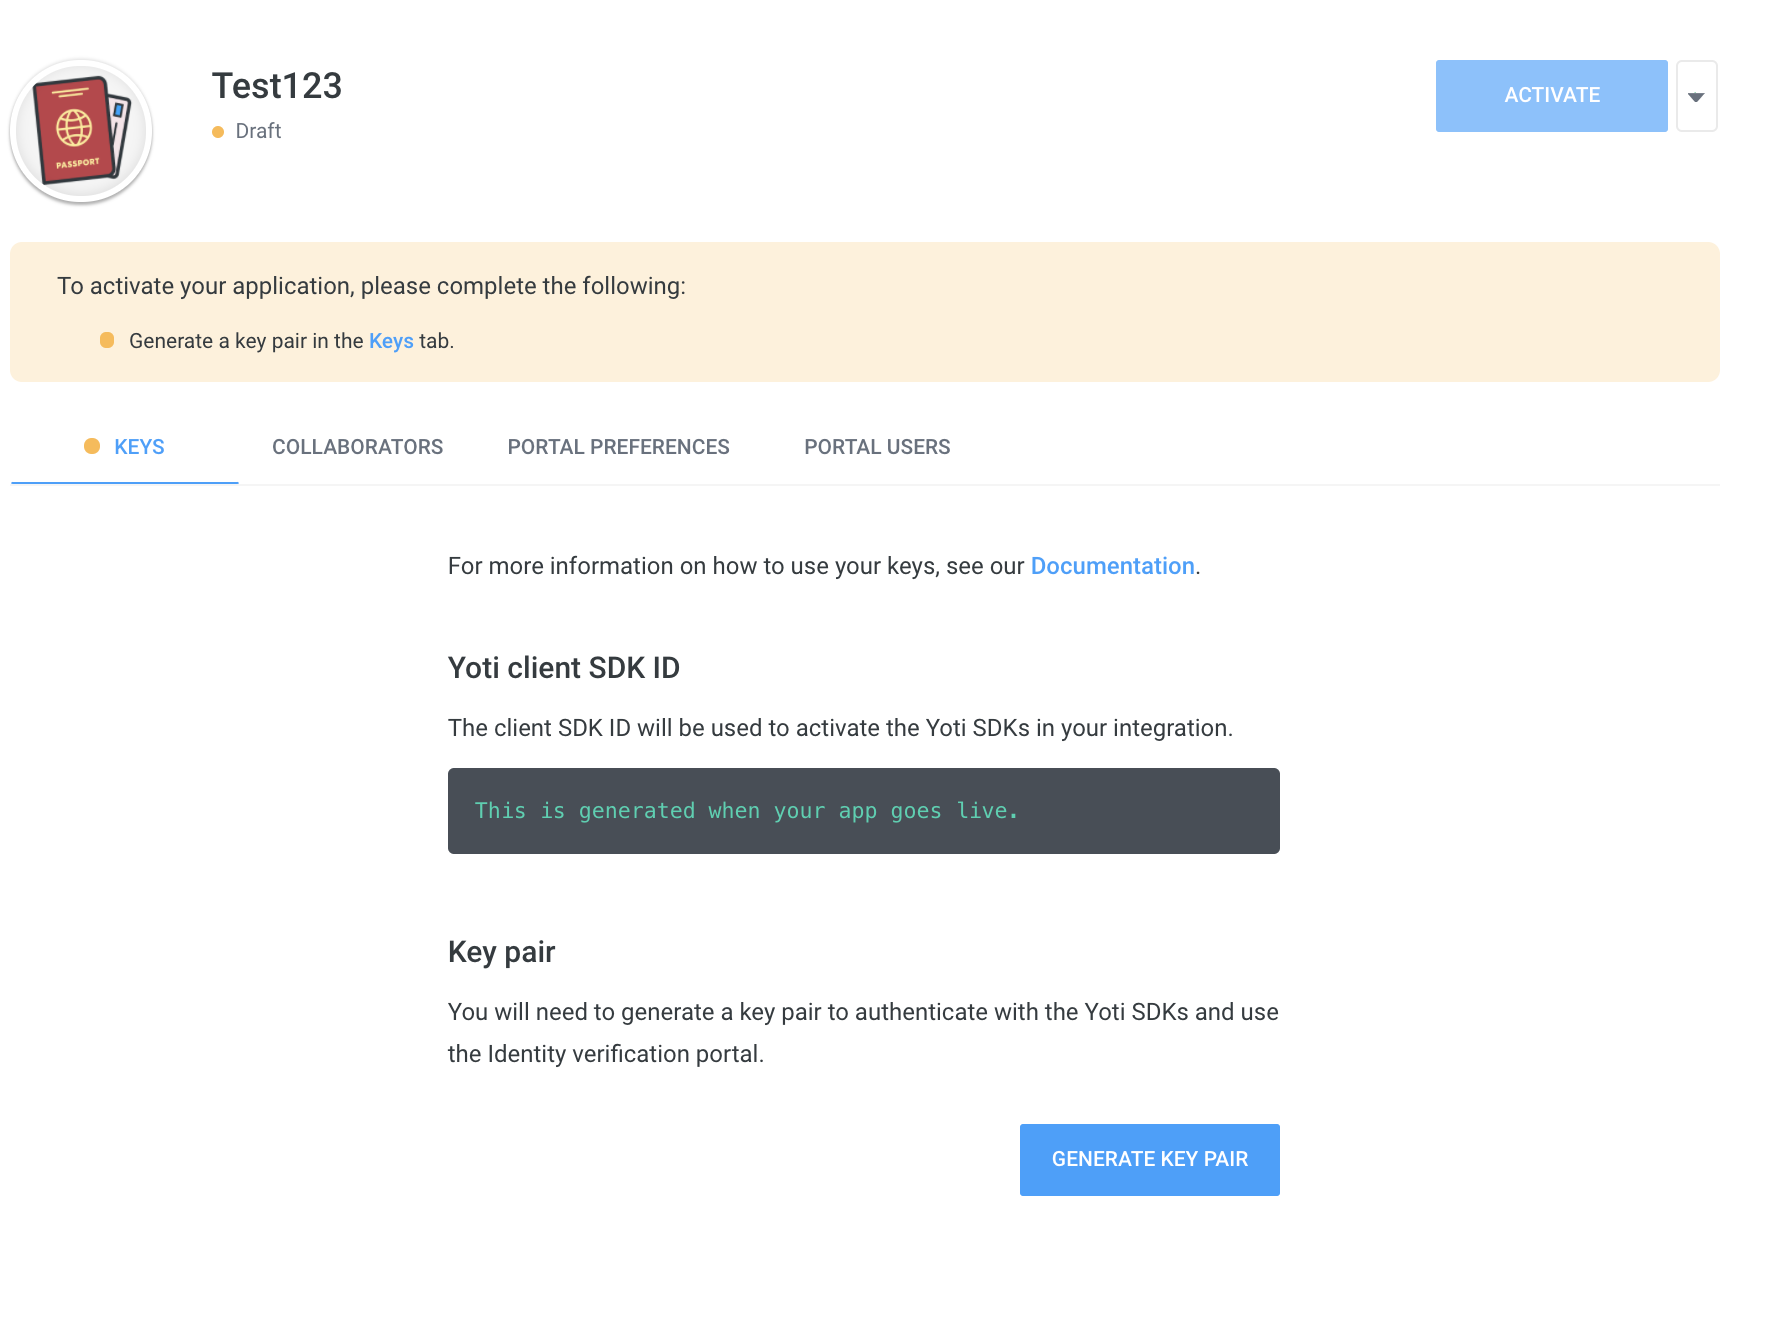
Creating an application > Keys
- Click on the Keys tab.
- Click the 'Generate Key Pair' button, you will be asked whether you want to store the keys. Click this checkbox and the keys will automatically be managed by Yoti on your behalf.
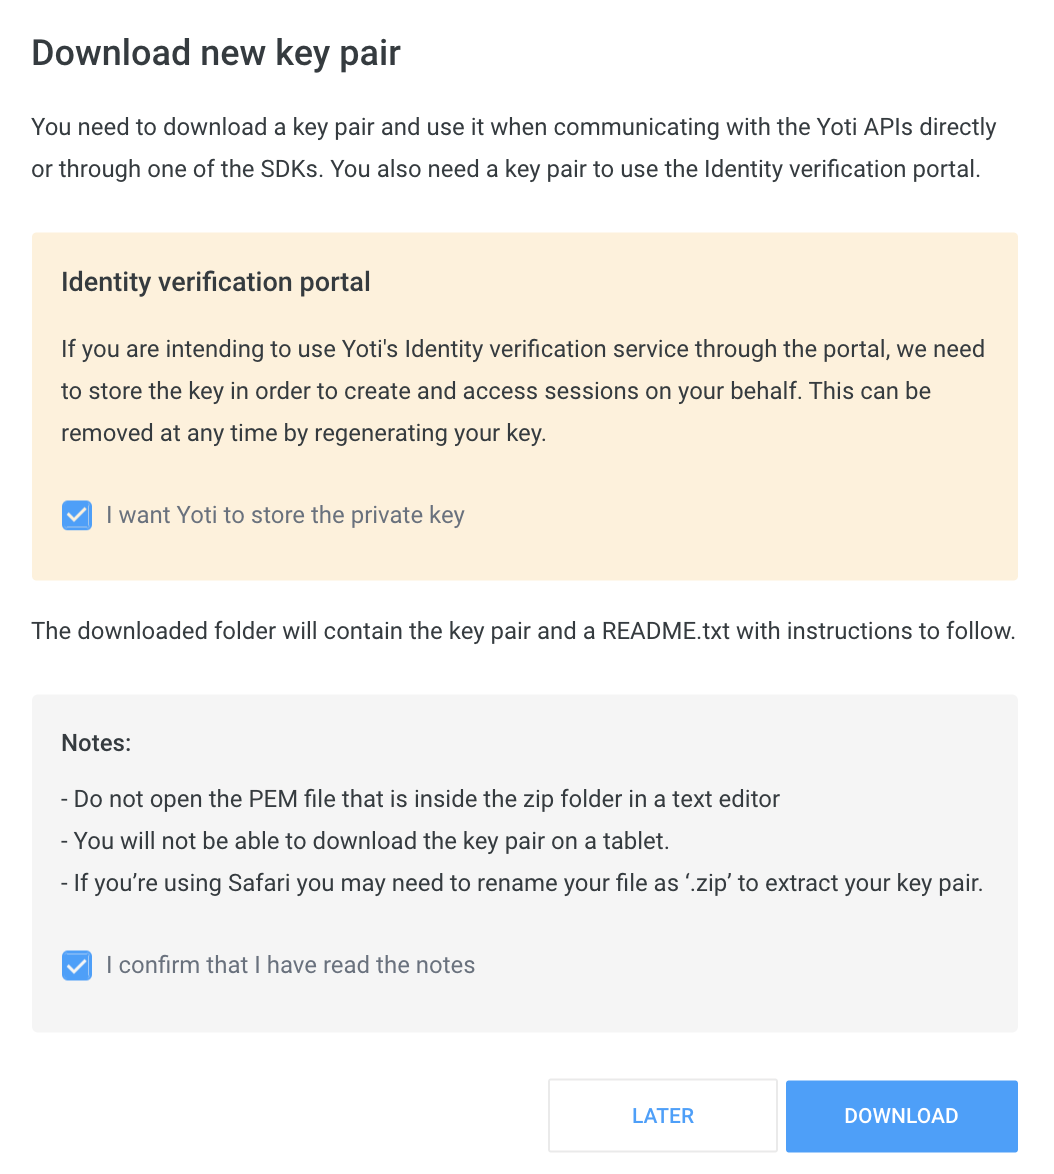
Creating an application > Keys > Tick box
If you ever decide that you no longer want Yoti to store your keys, you will be able to regenerate your keys and uncheck the checkbox. This will prevent you or your users from being able to view existing data in the portal.
Choose your configuration set up
Before you start here, get familiar with our user view. See what your users would go through by using the following demo.
You will be provided with a list of checks that Identity verification provides.
- Click on portal preferences.
- Please tick which scheme you wish to have as part of your user sessions.
A session represents one end-to-end use of the ID verification service. Each time the ID verification service is initiated (regardless of which specific scheme) a new session is created.
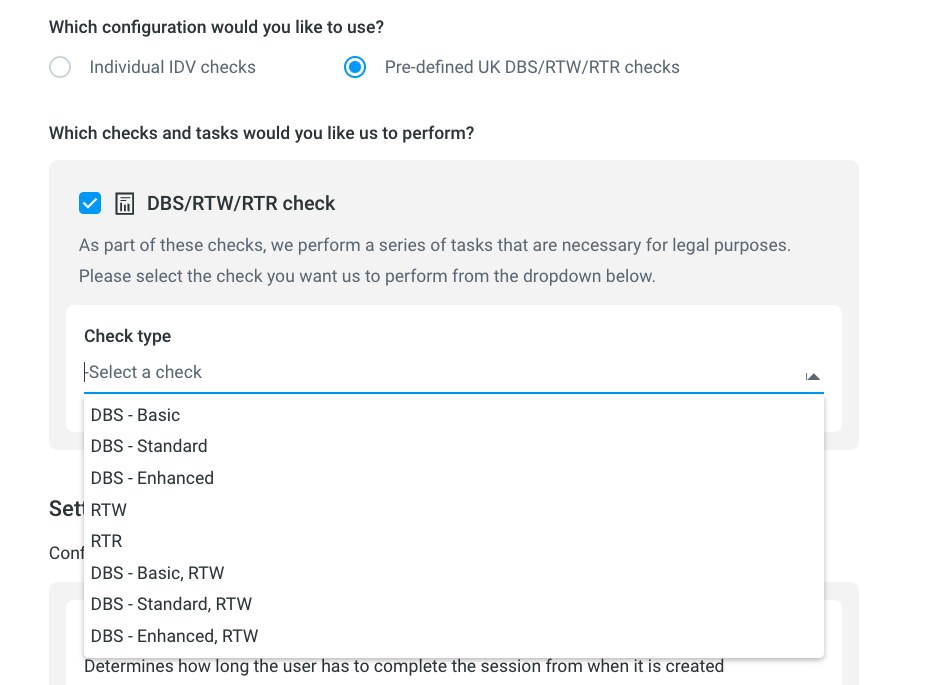
Creating an application > Portal Preferences
Settings
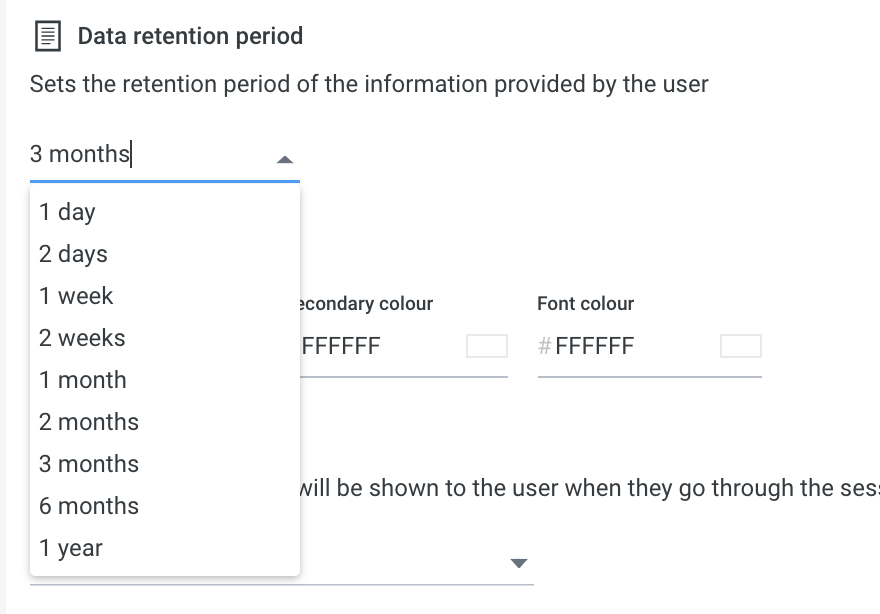
Here you can configure how long you want the session to be valid for, and how long you want to keep the images and sensitive data for.
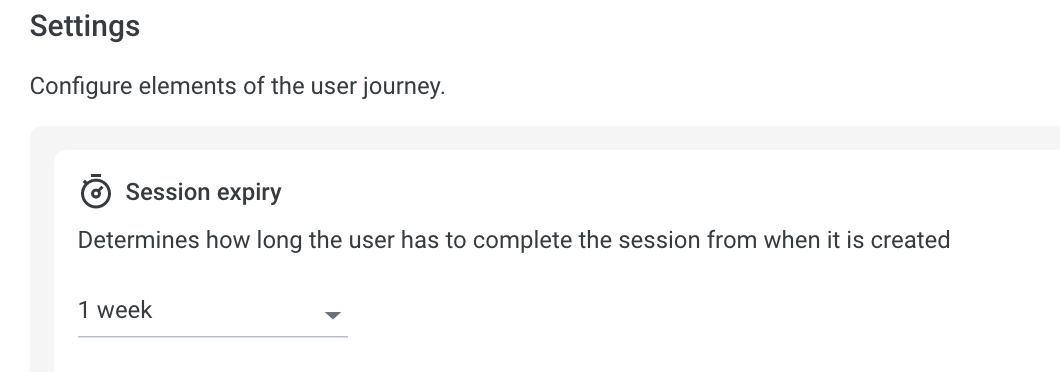
Yoti recommends you keep the data only if necessary. By default we set the session time to live for 1 week and the retention period to 3 months.
Client view
Here you can configure the user view
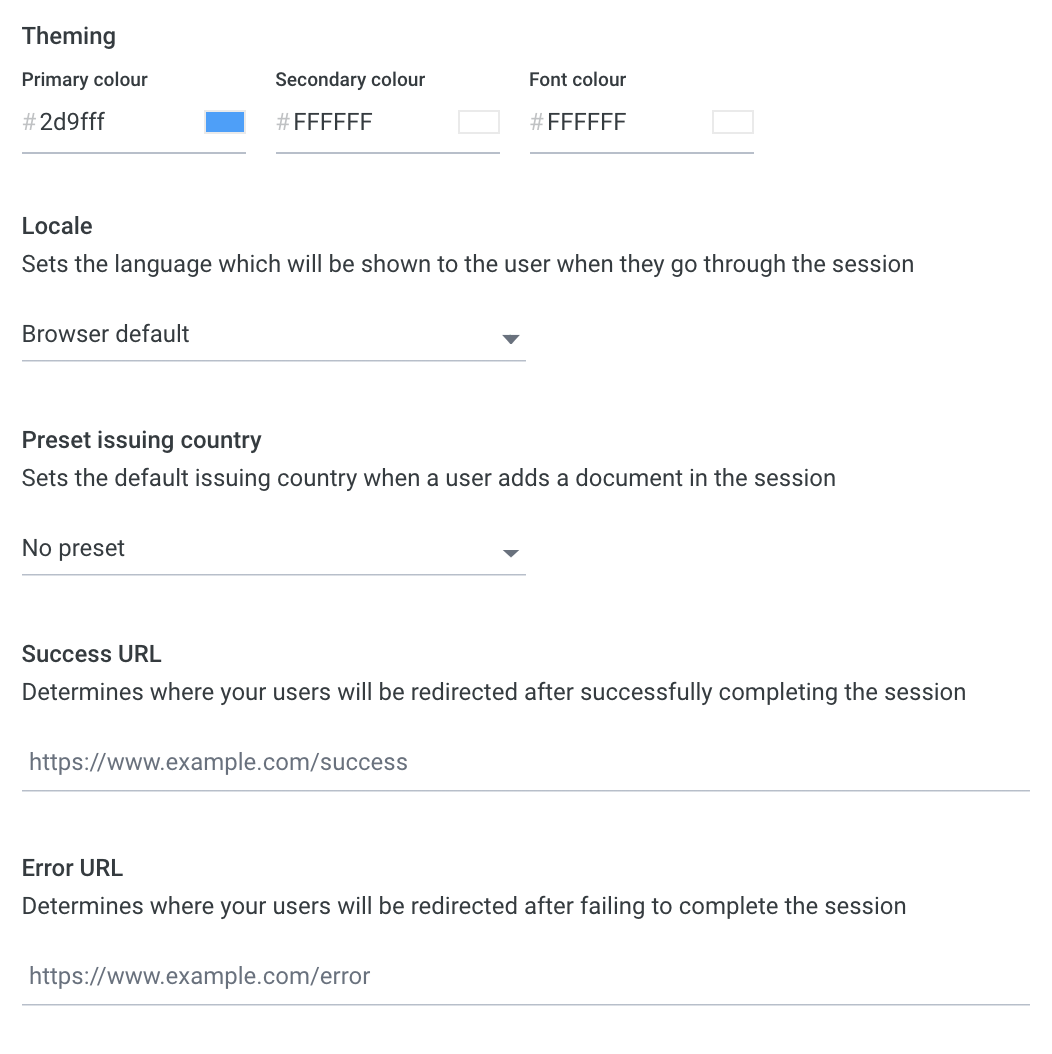
Portal > Preferences
| Primary colour | Colour of the button on the user session view. |
| Secondary colour | Coming soon! |
| Font colour | Change the colour of the font of the user session view. |
| Locale | Select a translation language. See Overview for translations supported. |
| Preset issuing country | Allows you to set which country is preset in the user session view. |
| Success URL | If the session is successfully completed you can redirect the user to a URL. |
| Error URL | If the session is unsuccessful you can redirect the user to a URL. |
Mobile Handoff
You can enable a mobile handoff feature which will allow users to complete the session using their mobile devices. This must be on for DBS/RTW and cannot be disabled

Add Users
To add a user and enforce permissions to your portal:-
- Go to the portal users tab
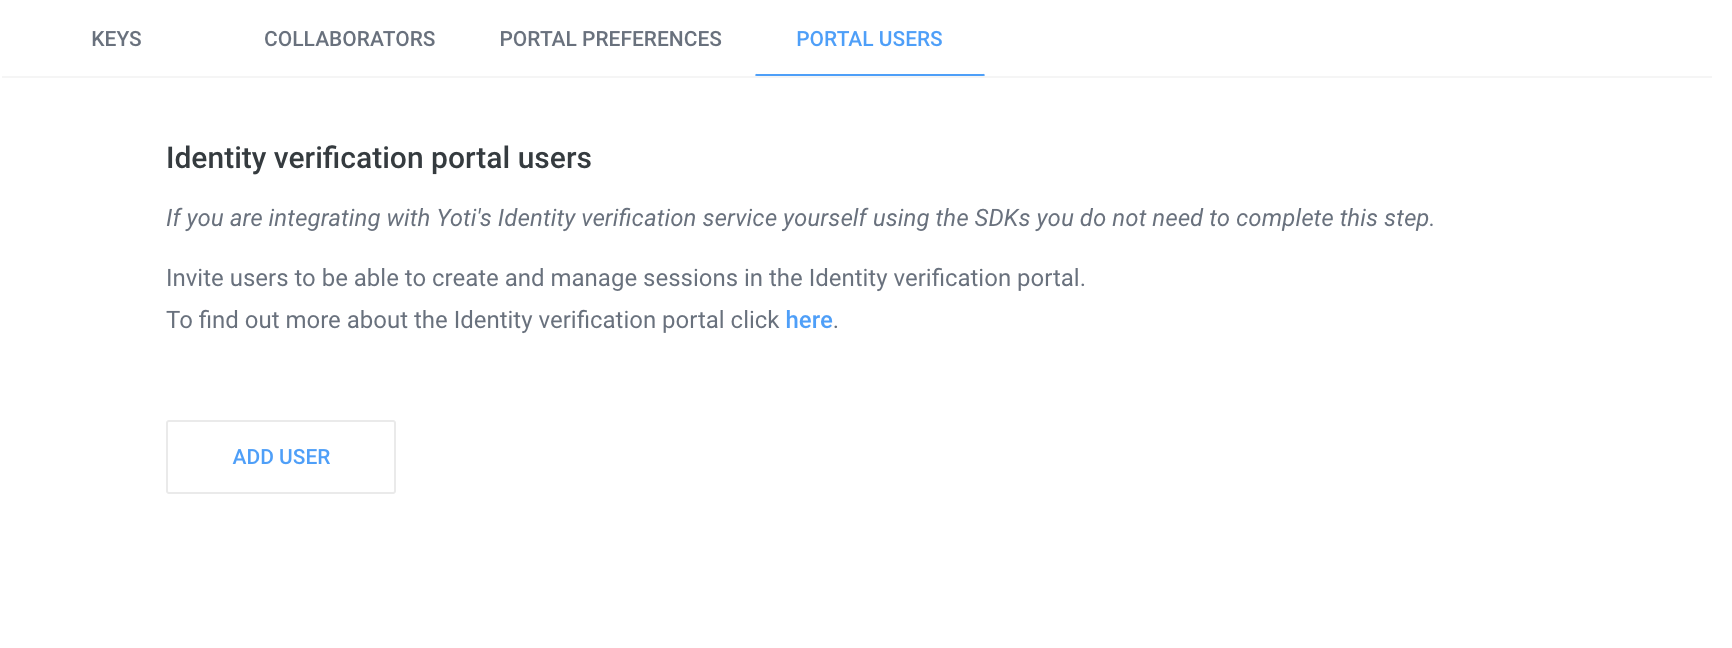
- Click add new user
- Type in the person’s email address.
- Once you add a user, they will get emailed a link to the portal and will need to create an account on the portal.
By default people that are added to the portal will have the ‘View sessions’ permission.
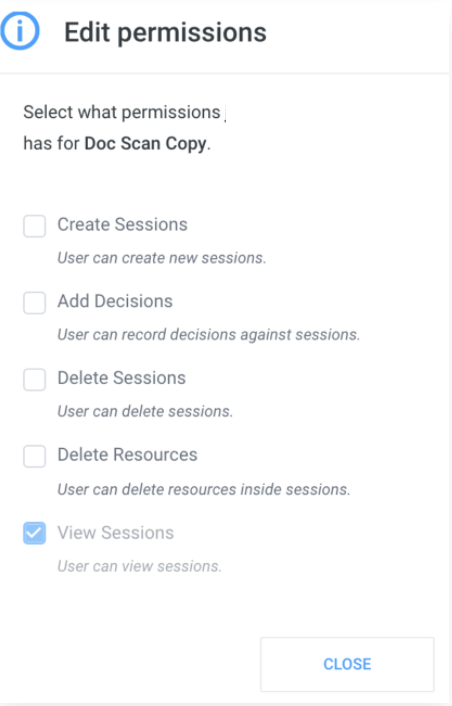
Creating an application > Users > Permissions
Every user will receive an email from Yoti. They will then need to register on the portal at https://identity.yoti.com/iam/create. The new users will be guided through this via the email they receive.