You have the option to view your sessions in a portal view if you have completed an API integration.
You may already have an API integration completed or you may want to enable this from the beginning, please see below for which preference you are.
Note - If register key pair does not appear as an option, it's likely the key has already been registered. Please do not attempt to generate a new key pair or this could cause your existing integration to break. Go straight to the Portal Users tab and add a user.
If you wish to enable this please follow the steps below:
- Head to your hub account.
- Find your application
- Press REGISTER YOUR KEY PAIR
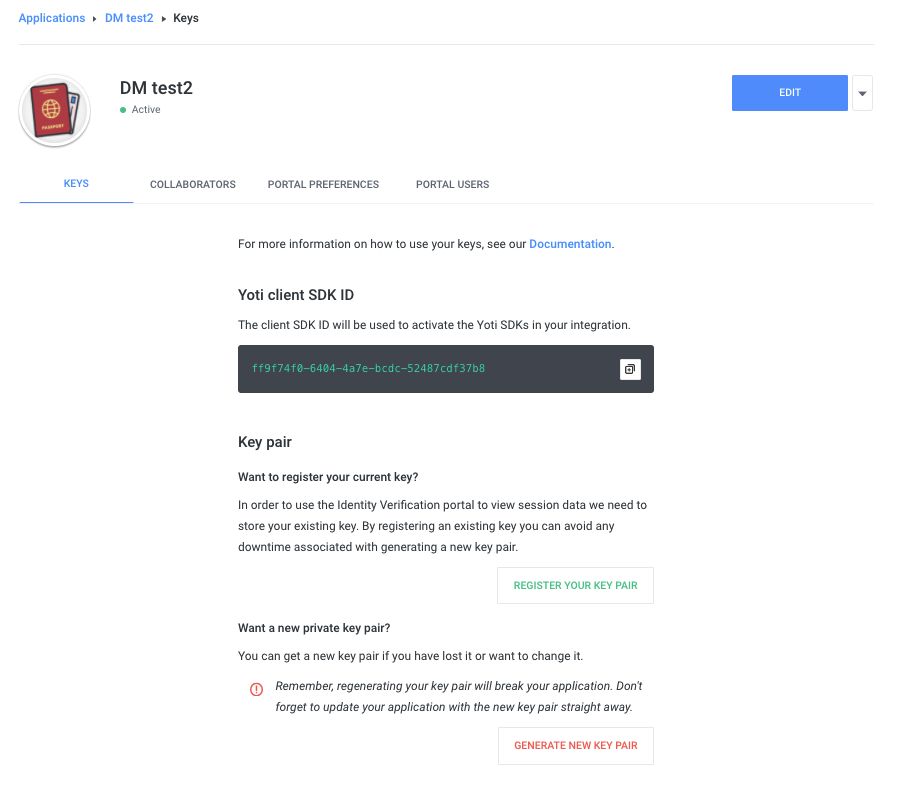
Hub > Application > Keys
After this you will have to add your current PEM file to the pop up and give consent.
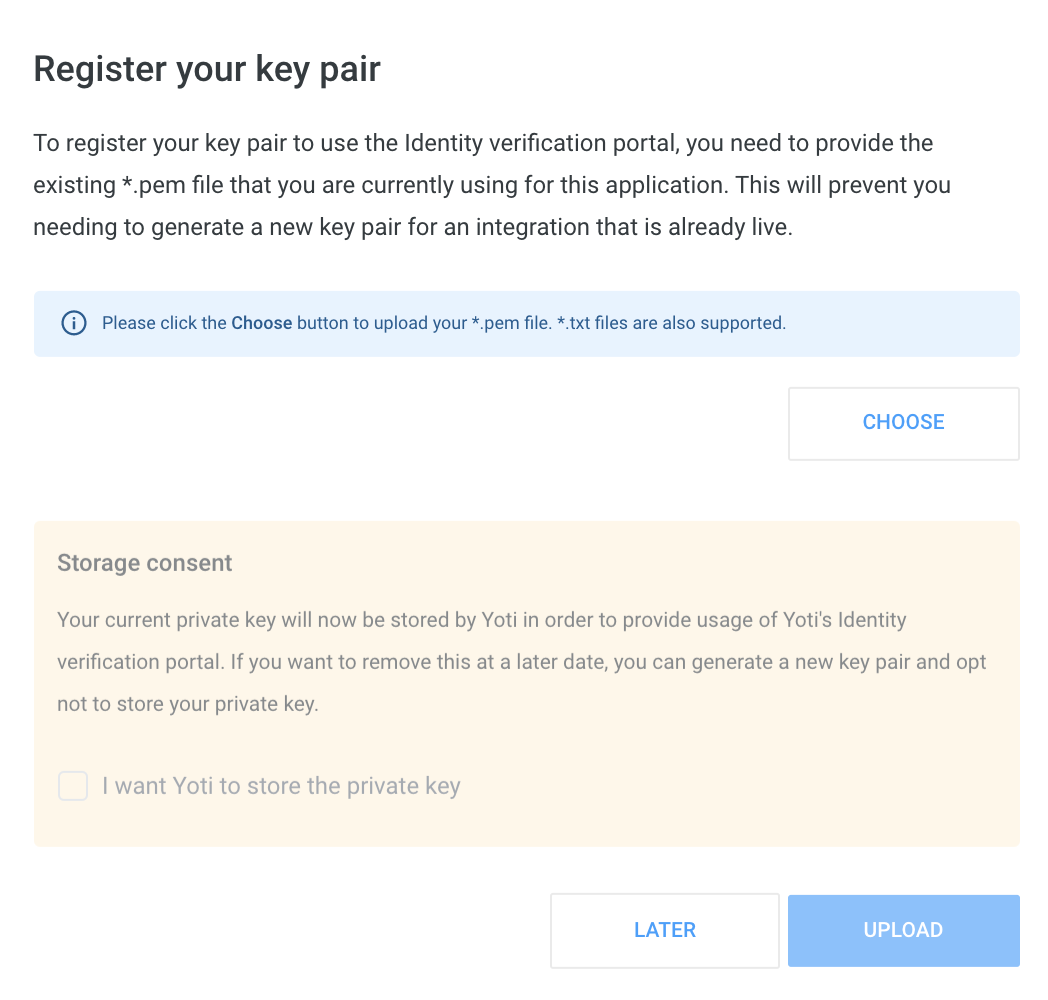
Hub > Application > Keys > Register your key
If you havent used the portal at all you will need to continue with the following steps:
- Adding a collaborator
- Logging on to the portal.
View your sessions
- Log in to the portal
- You will now see the home screen has enabled view API sessions.
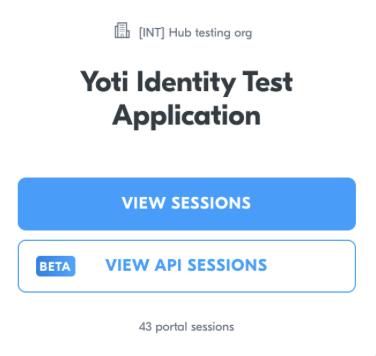
Login portal > Select application
- The layout and results will follow the same as described in our portal session results section.