
You can add a tag to your template document using our auto tagging feature by inserting an anchor into your document. An anchor is made of:
A Role
Recipient number
Tag Type
Required/Optional
Anchor Type | Example | Description |
|---|---|---|
Role | Signer | Role of the recipient |
Recipient number | x | Number of recipients. This must be a number from 1 to 30. |
Tag Type | Signature | Type of field. See above for more details. |
Required / Optional | Required | If you require the recipient to complete this transaction in order to sign the document. |
Header tag | |AT| | Place this on the first page of your document to signify that the document contains auto tags. |
A list of the roles the Yoti Sign API offers:
Roles | Tags |
|---|---|
Signer | S |
Tenant | T |
Landlord | L |
Agent | A |
Guarantor | G |
Contractor | C |
A list of the tag types the Yoti Sign API offers:
Tag Types | Tag | Example |
|---|---|---|
Signature | S | |S1SR| |
Text Field | T | |S1TR| |
Check Box | CB | |S1CBR| |
Date Signed | DS | |S1DSR| |
Radio Group | RG[X]* | |S1RG1R| |
Attachment | A | |S1AR| |
Initials | IN | |S1INR| |
A list of the metadata tags the Yoti Sign API offers:
MetaTag Type | MetaTag | Example |
|---|---|---|
Name | nm | |S1TR{"nm":"my name value"}| |
Prefill | ph | |S1TR{"ph":"my placeholder value"}| |
Placeholder | pf | |S1TR{"pf":"my prefill value"}| |
Note the metadata tag types can only be used for the Text field(TR) tag type.
Auto-tagging allows you to dynamically tag a document by including special anchor tags inside the document itself.
Click Options and Auto-tagging.
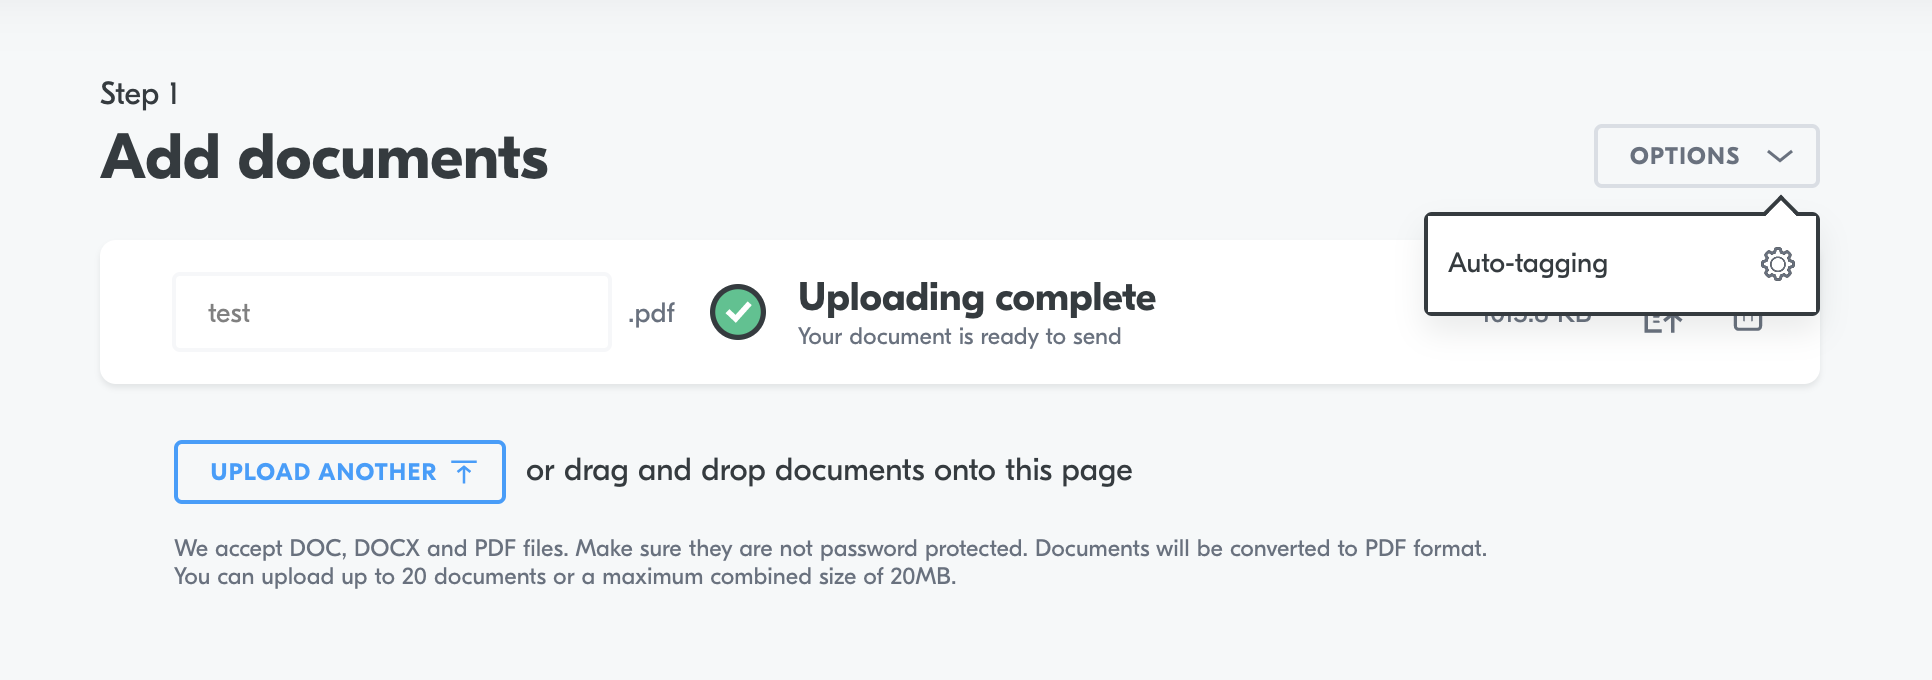
Press apply.
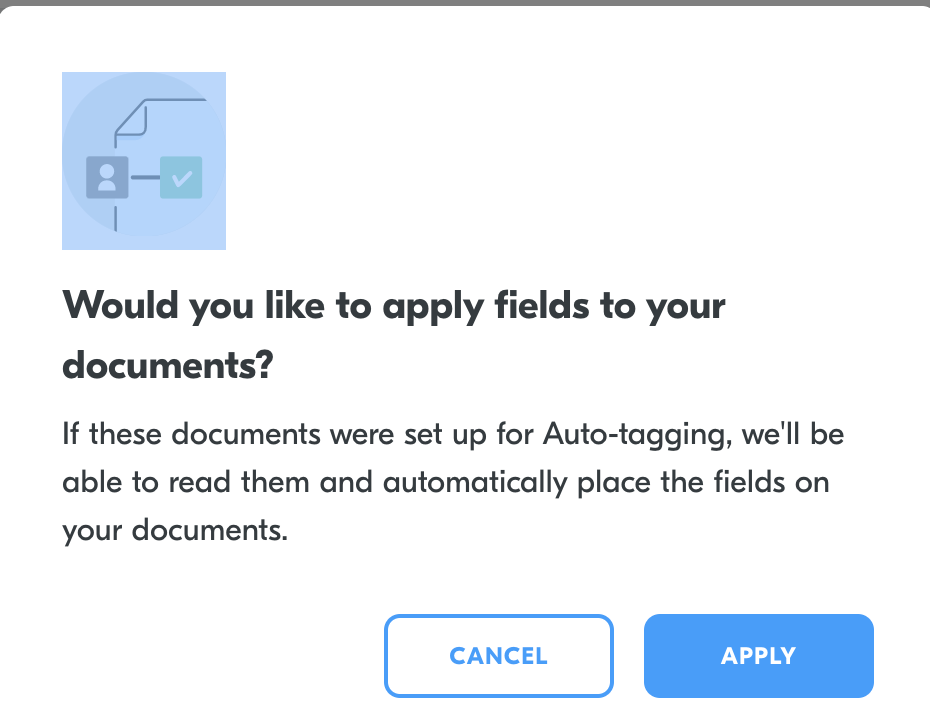
Now you can press NEXT and continue with the document set up.