This integration is in BETA. Please help us improve by providing feedback.
Welcome to the documentation for integrating Yoti Age verification (AV) with WordPress.
In order to configure the integration, an organisation must be registered with Yoti. For information on how to do this, please refer to our Onboarding guide.
Details you will need:
- A verified organisation through the Yoti Hub
- Age Verification API Key consisting of an SDK ID and Bearer Token
The following are the integration steps:
- Download the plugin
- Install the plugin
- Add your keys and configure the plugin options
- Enable Age verification for relevant posts/pages
Download the plugin
Download the plugin installation file from this link.
Install the plugin
Head to your WordPress admin panel.
- Open Plugins page from the left menu
- Then, click the ‘Add New Plugin’ button
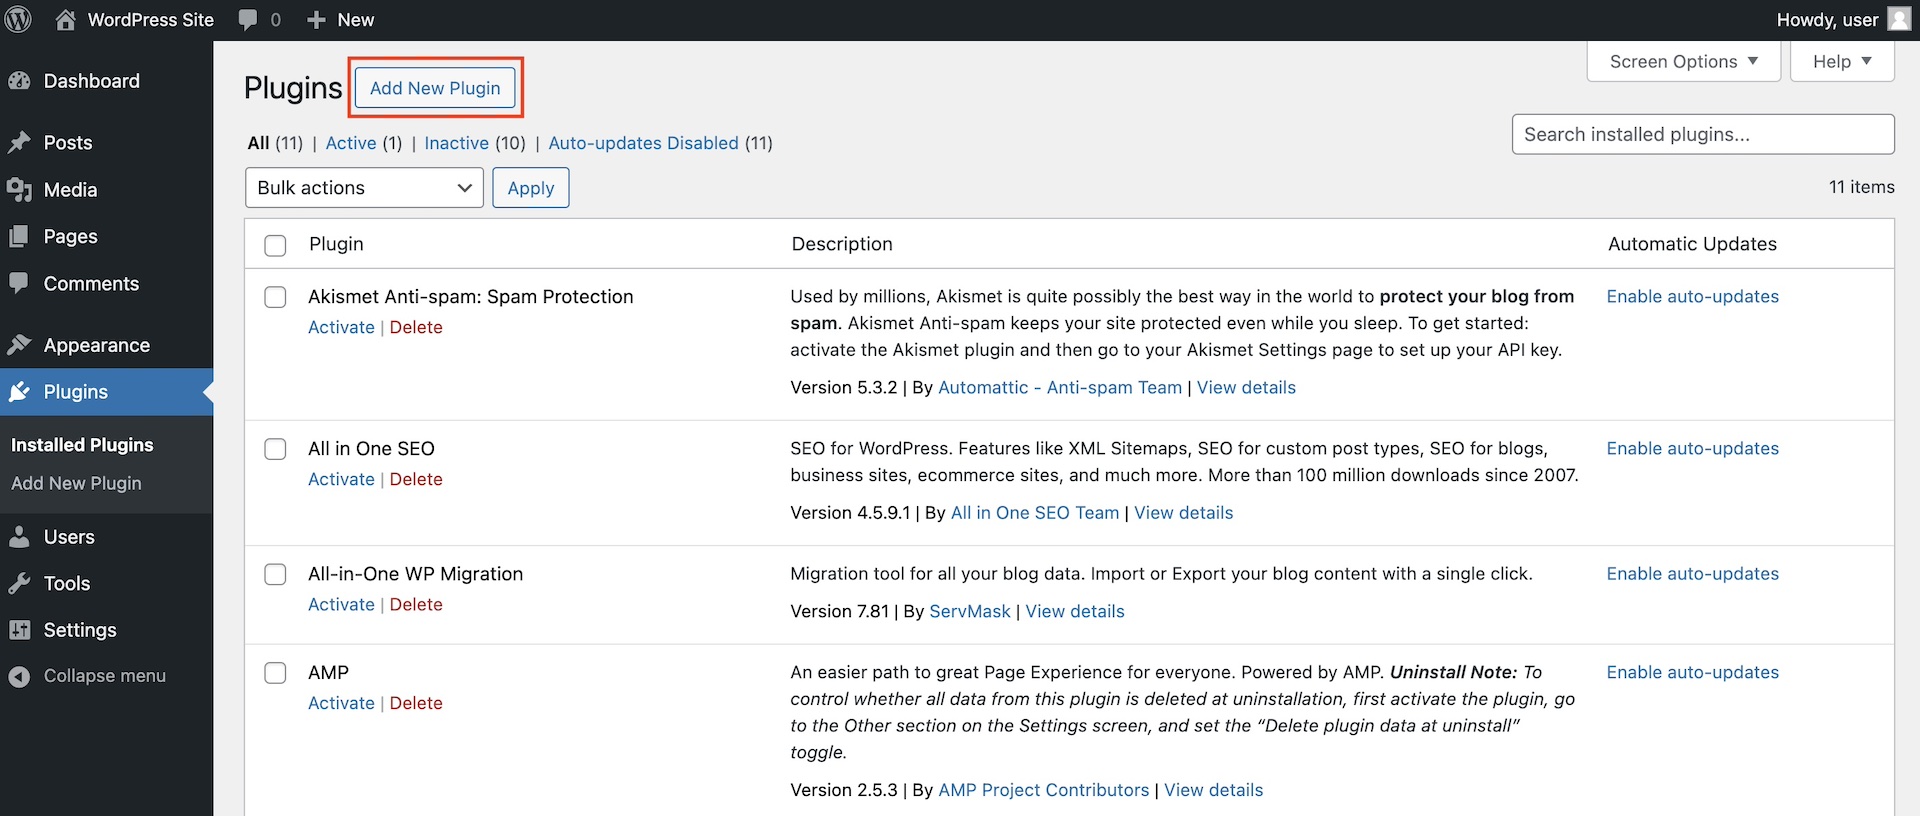
Settings > Plugins > Add New Plugin
- After, click the ‘Upload Plugin’ button
- Click the ‘Choose file’ button and select the plugin zip file
- Then click the ‘Install Now’ button
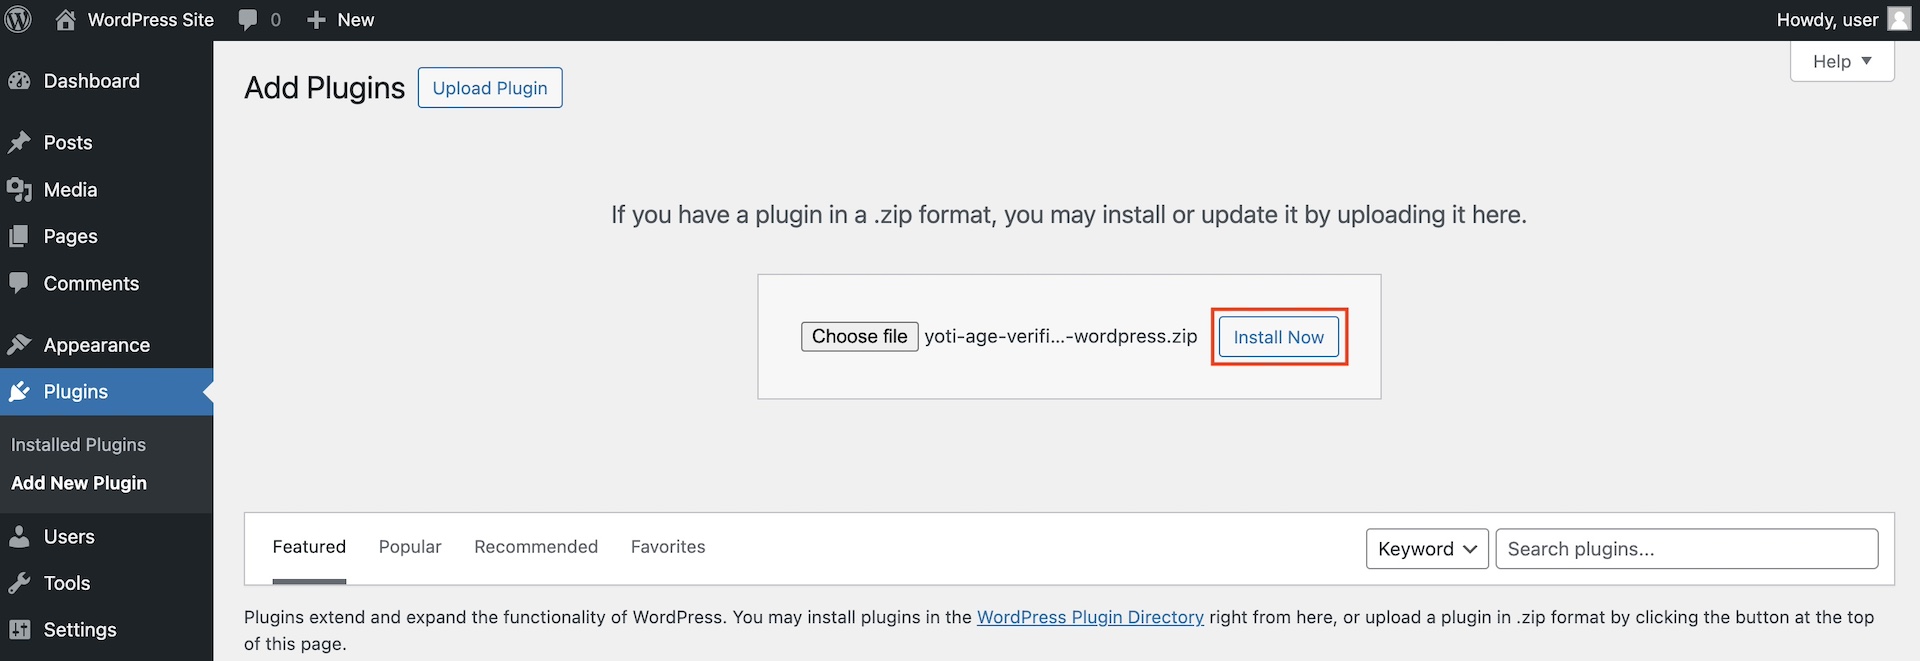
Settings > Plugins > Add New Plugin > Upload Plugin > Install Now
- Finally, click on ‘Activate’ link below the installed plugin name
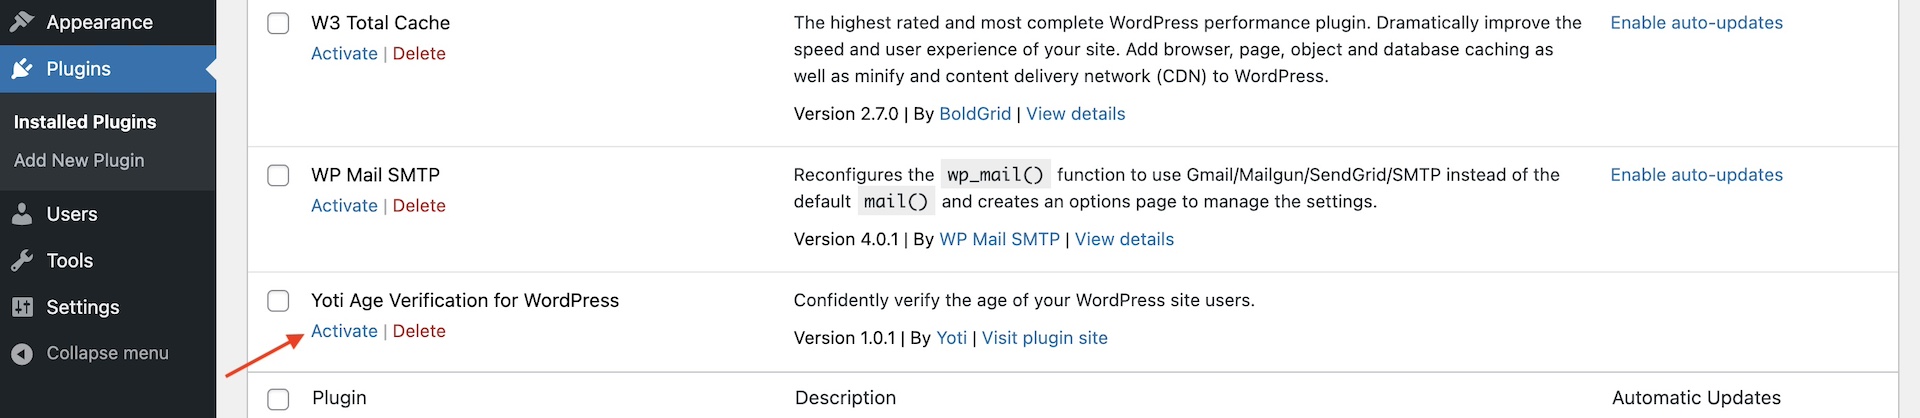
Settings > Plugins > Activate
Add keys and configure the plugin
You will need to have completed Onboarding and generated API keys.
- Open the plugin settings page by going to 'Settings -> Yoti Age Verification' from the left menu
- Add the SDK ID and API Key
- Set the default age threshold and enable verification methods
- Configure the Notifications webhook

Settings > Yoti Age Verification
- Optionally, customise the plugin inline elements
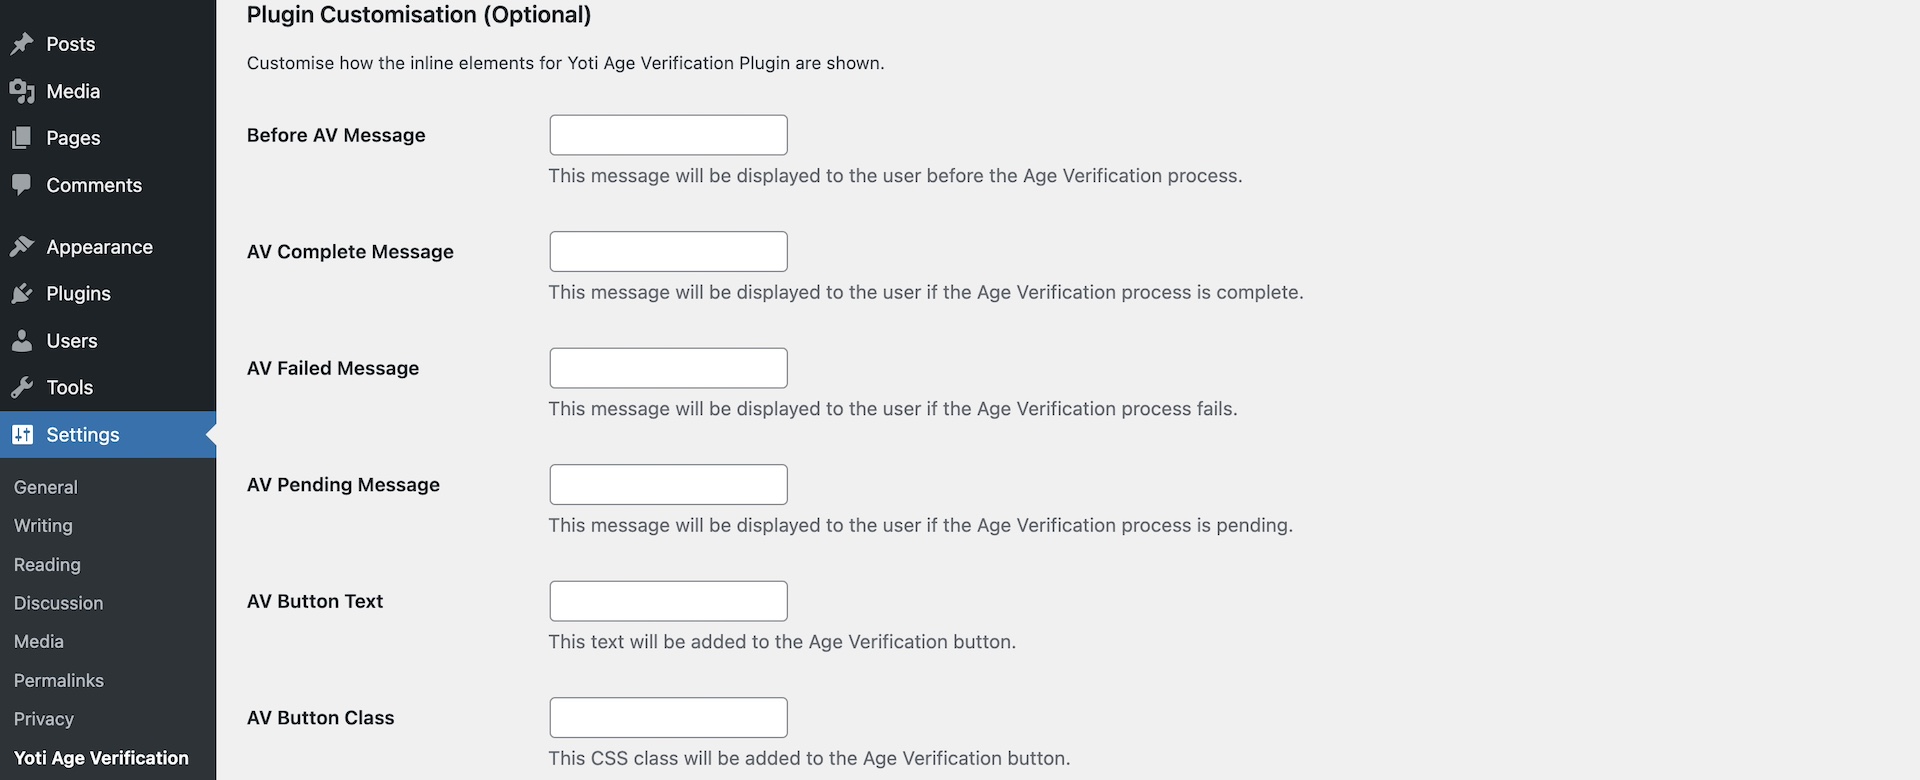
Settings > Yoti Age Verification
- Set the AV retention period for logged-in and non logged-in users
- Then, click the 'Save Changes' button
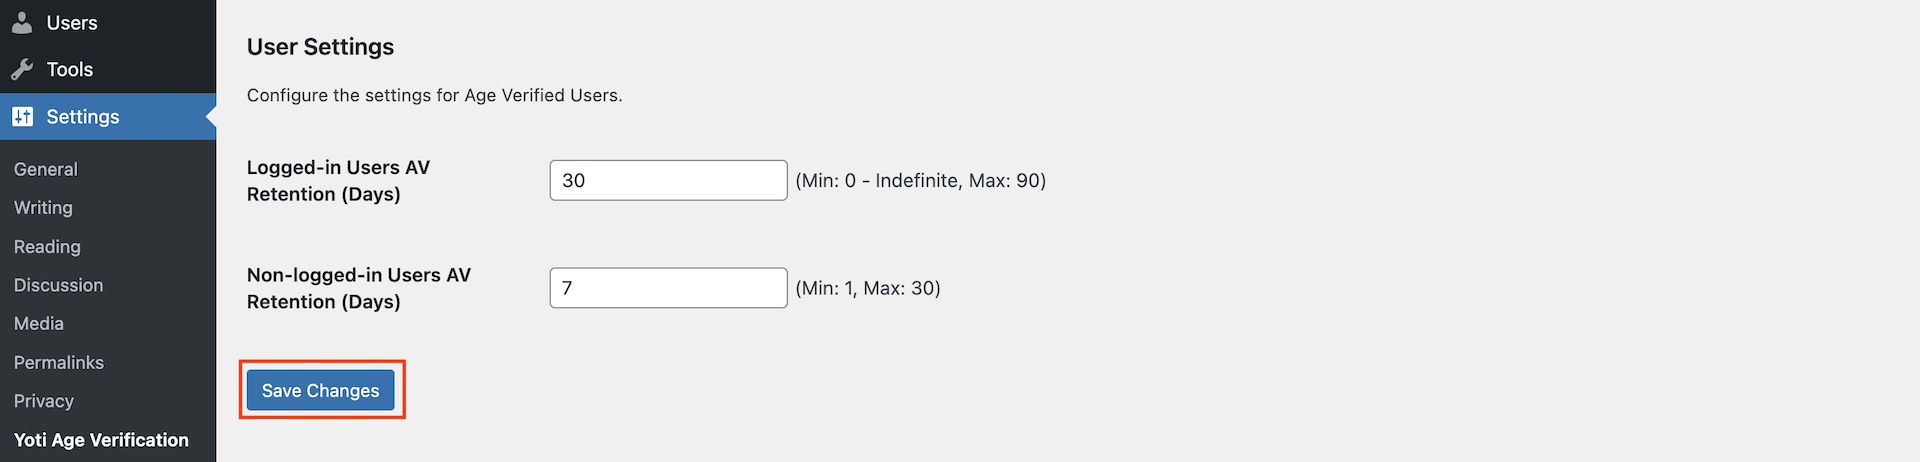
Settings > Yoti Age Verification
Congratulations - the setup is complete.
Enable age verification for content
Now that the plugin is installed head to your posts or pages by going to 'Posts -> All Posts' or 'Pages -> All Pages'
- For each relevant post/page, set the Age threshold and enable/disable Age verification. Make sure to click the individual 'Save' buttons after changing the configuration.
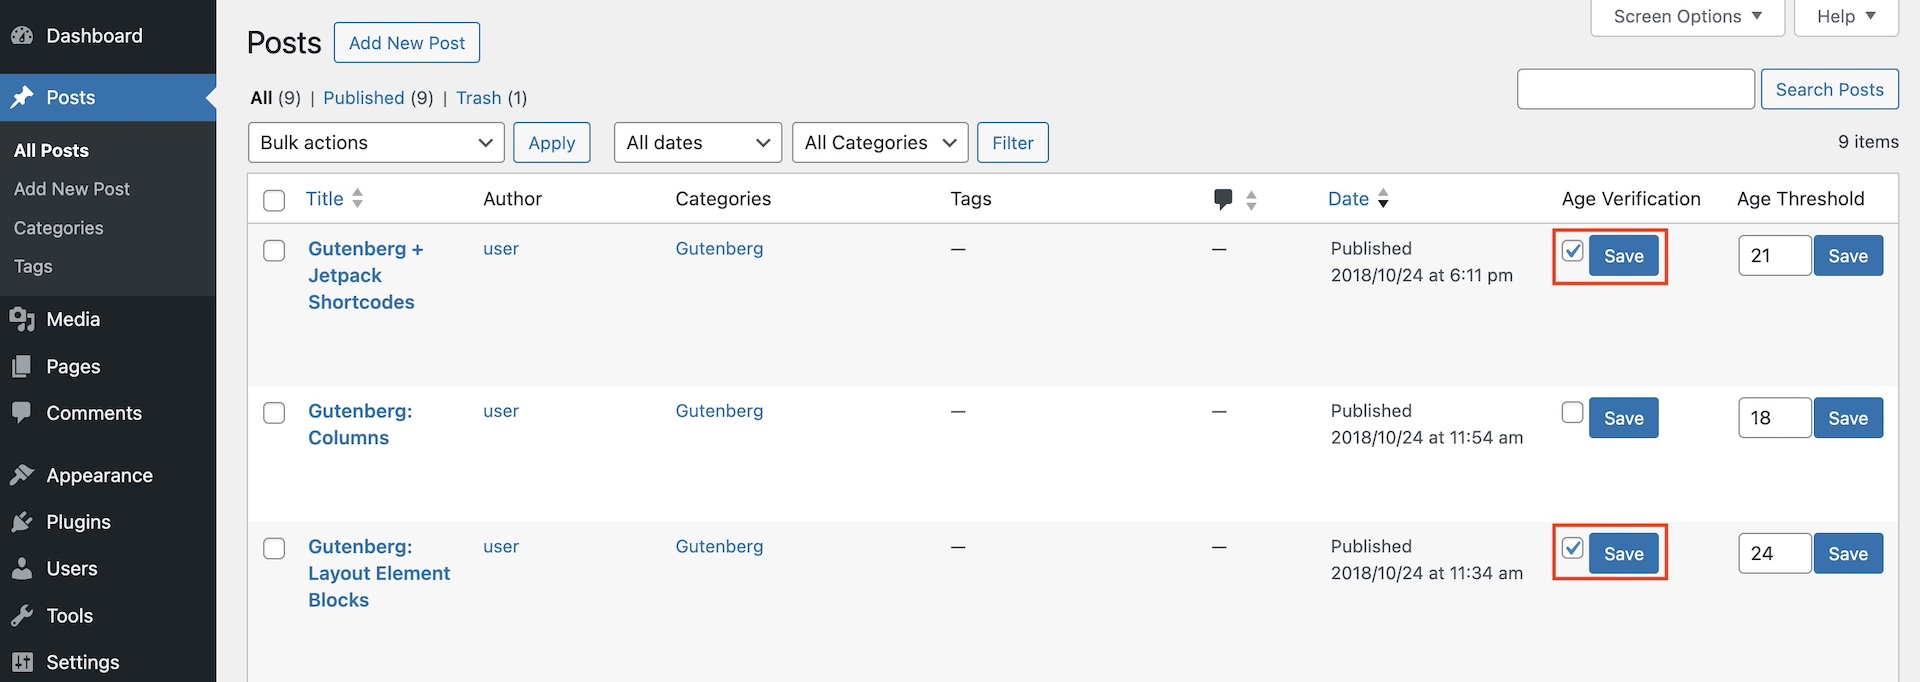
Posts -> All Posts
- It's also possible to use 'Bulk actions' dropdown to set Age threshold and enable/disable Age verification for multiple posts/pages simultaneously. Click 'Apply' after selecting the relevant items and desired action.
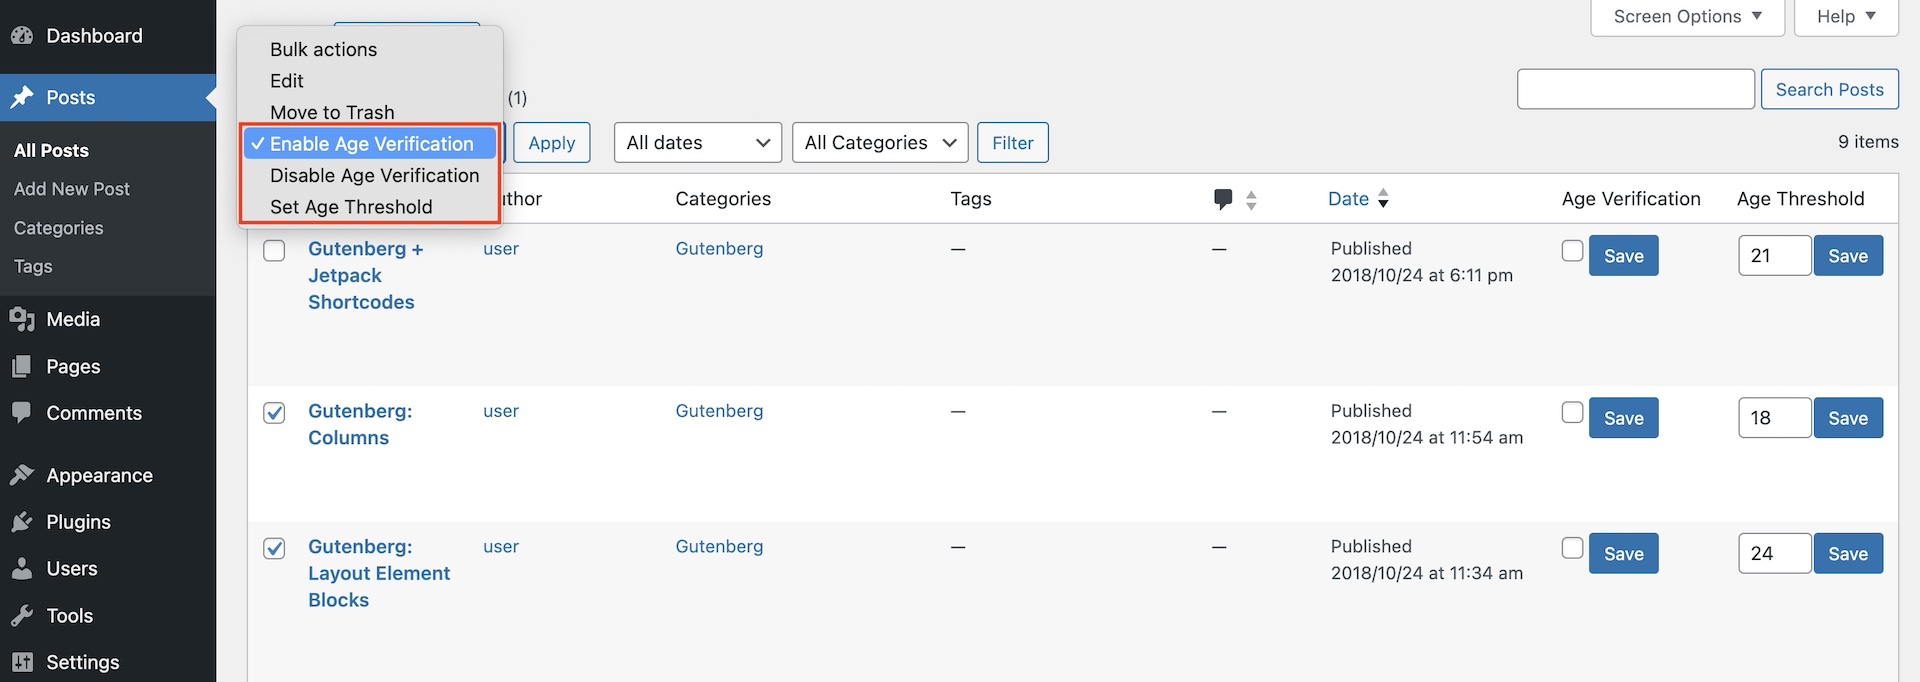
Posts -> All Posts
End-user flow
The age verification flow will automatically be triggered for restricted content.
- Whenever a user reaches an Age-restricted post or page, they will be asked to prove their age.
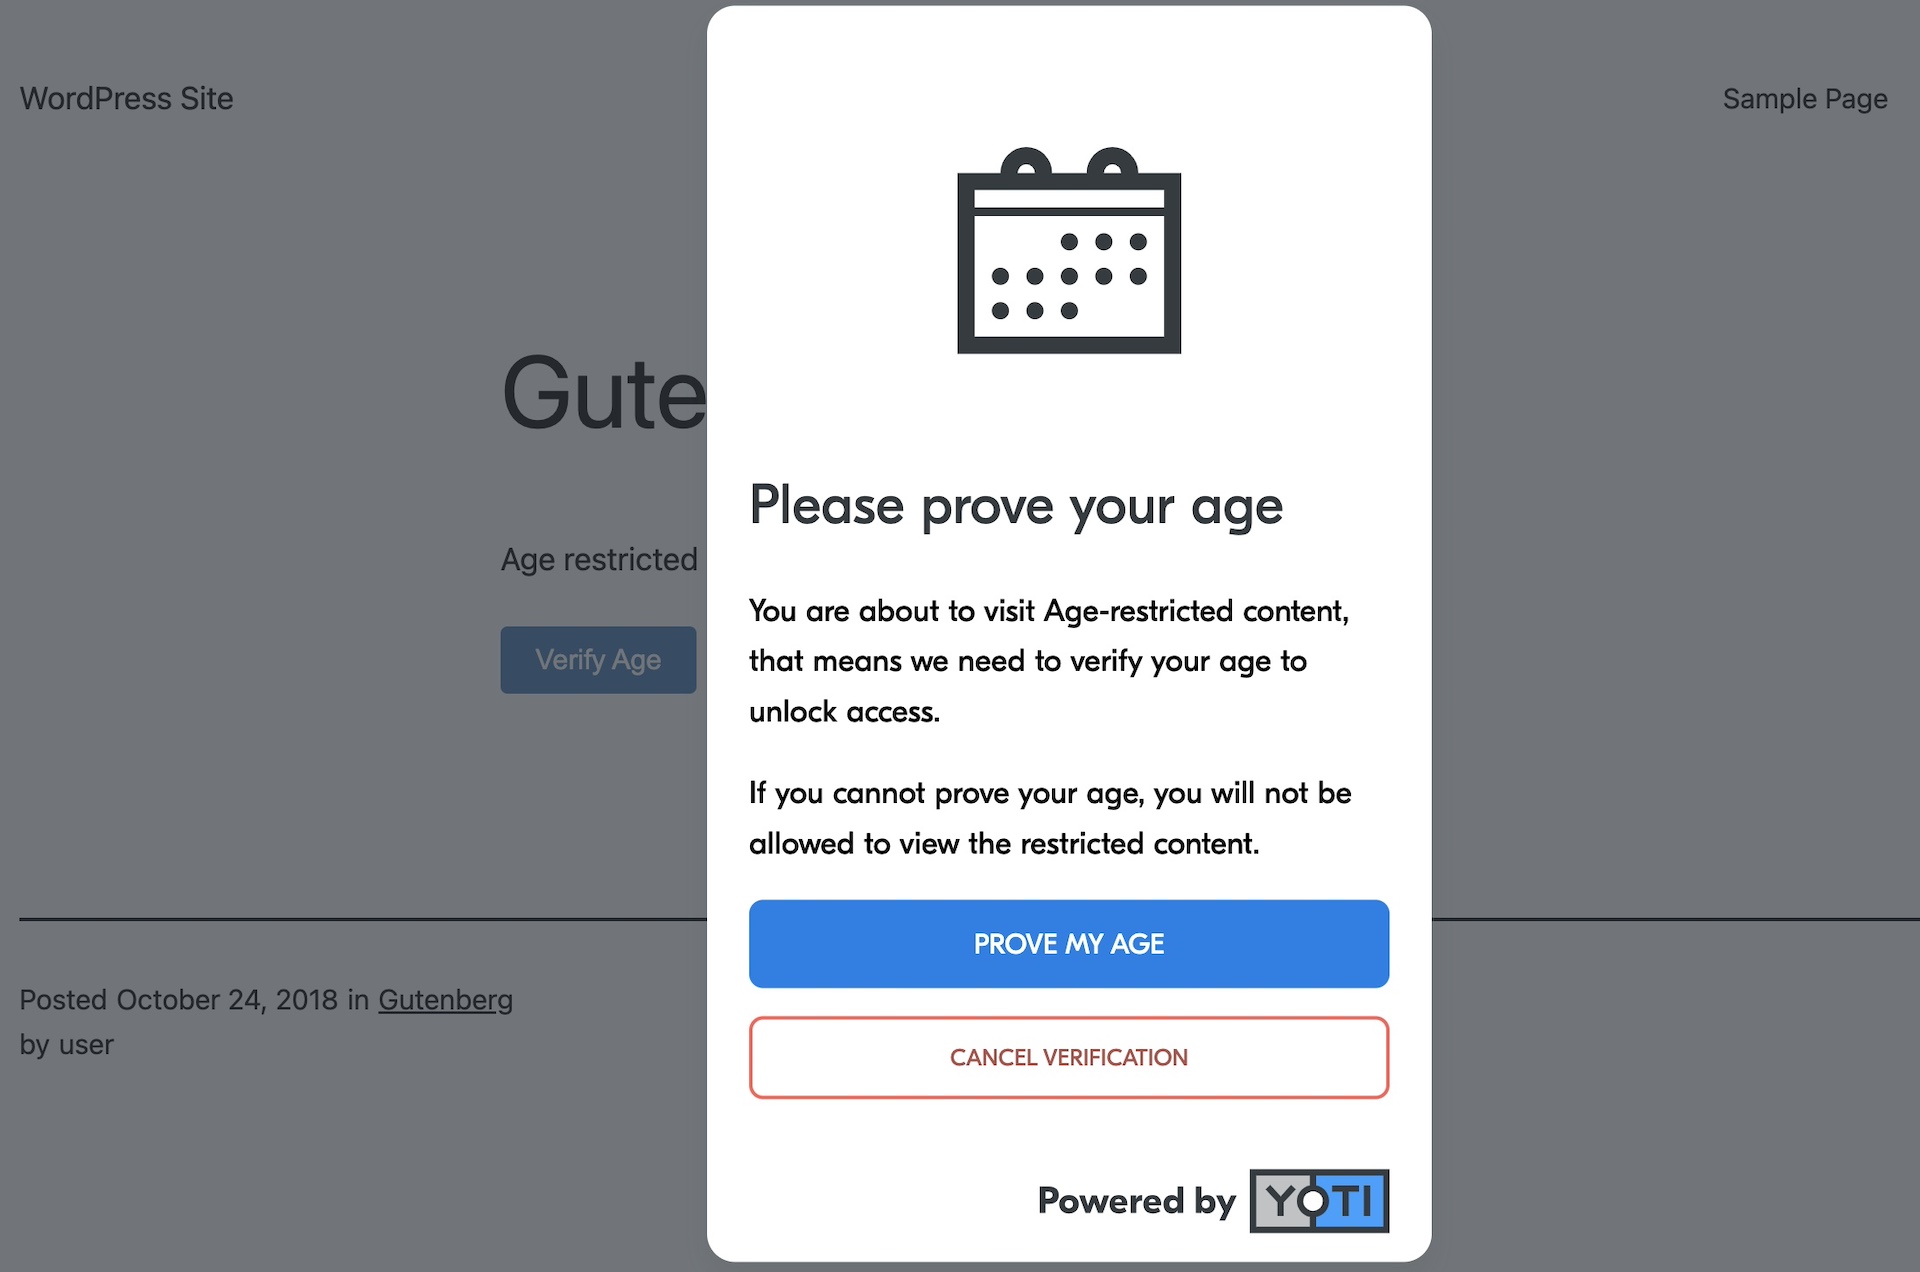
Age-restricted Post
- They will be able to confirm their age using any of the allowed methods.
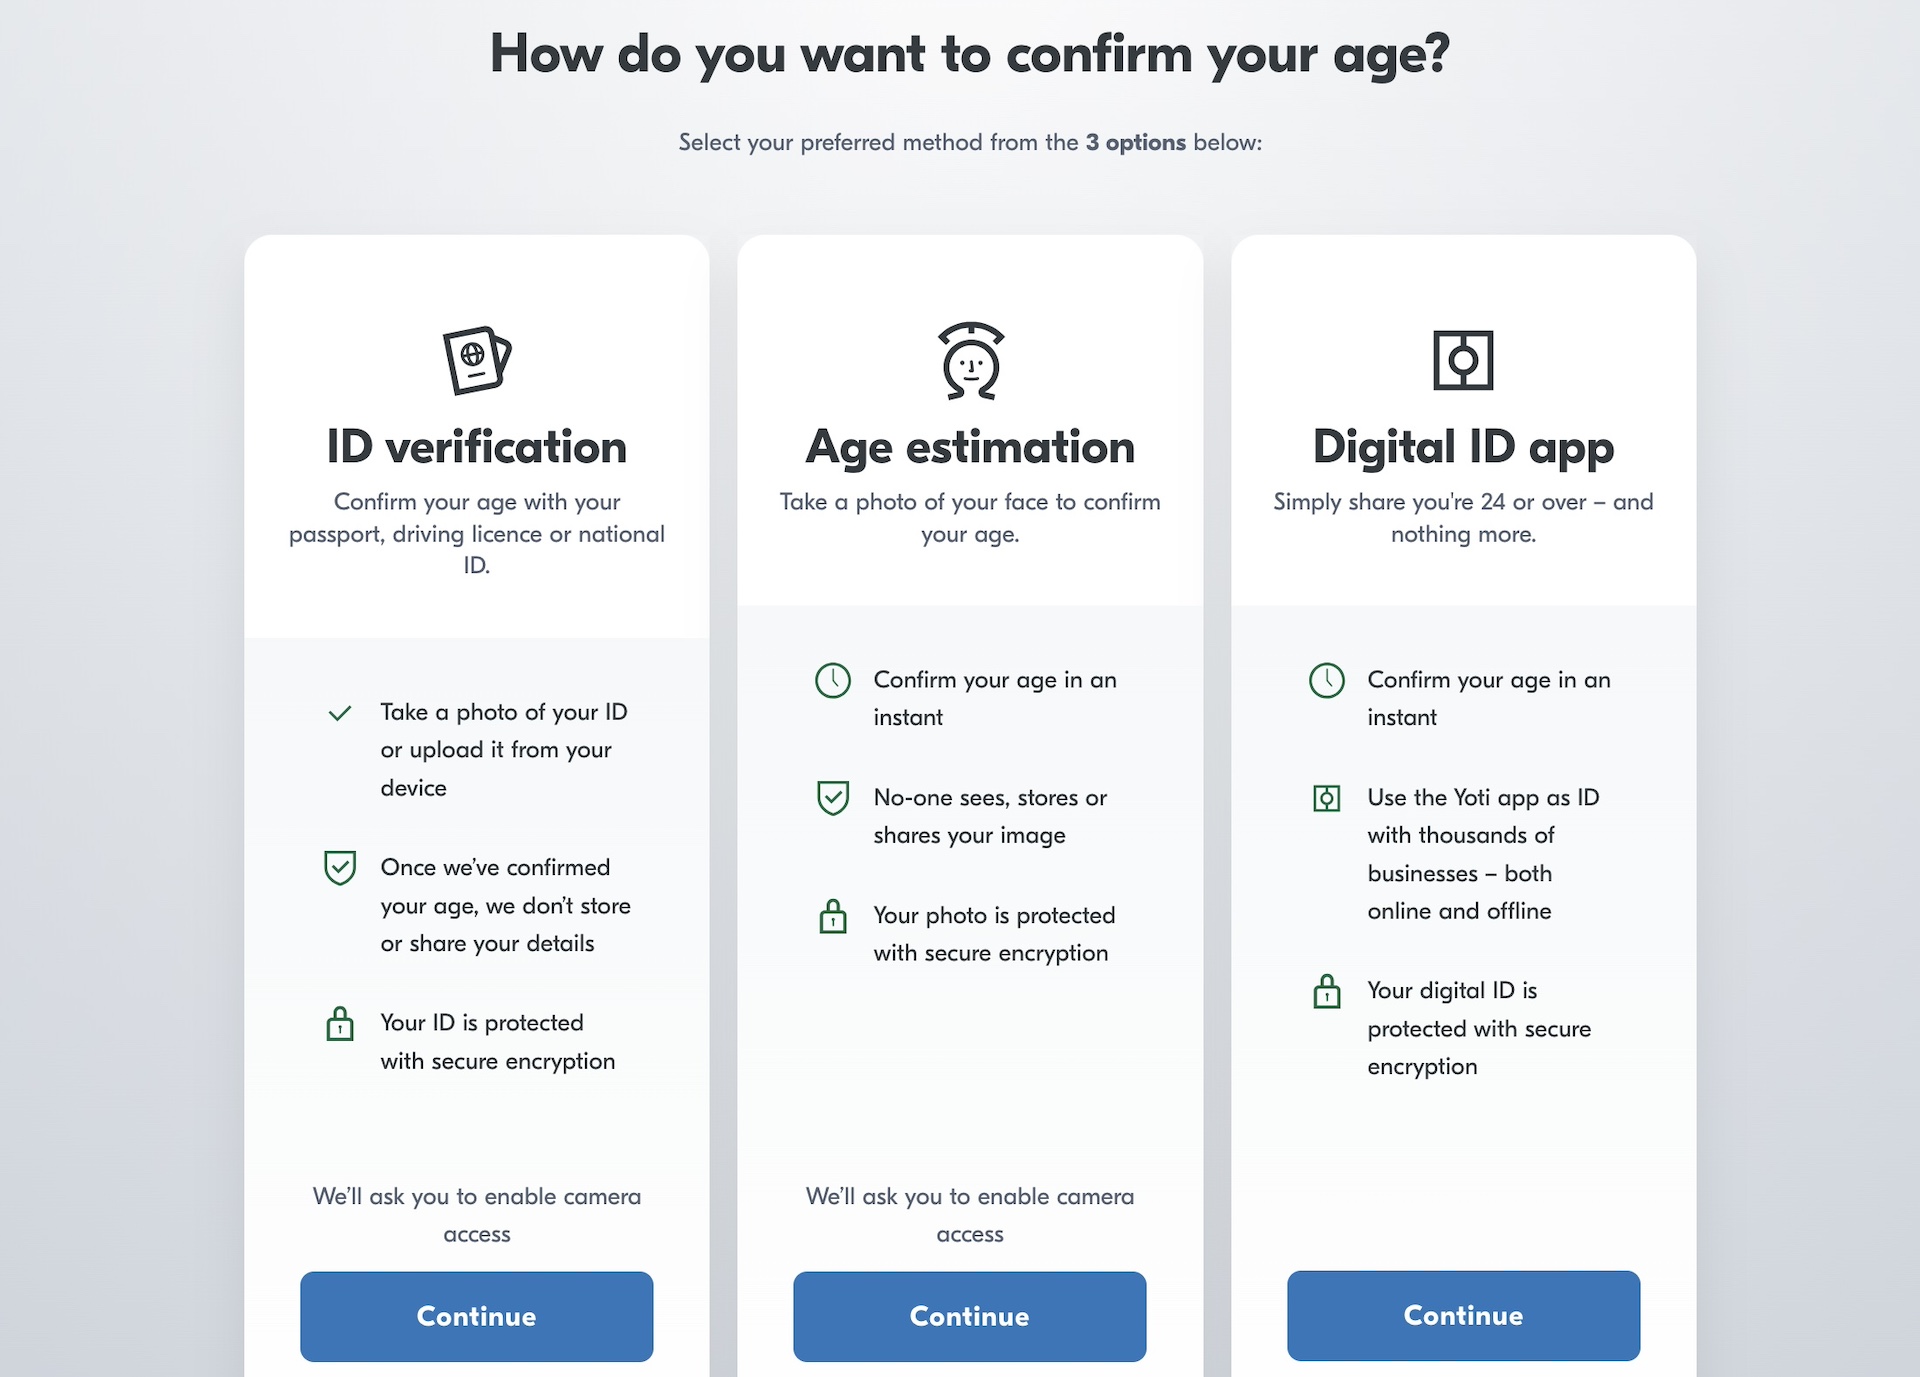
Yoti Age Verification
- The user will get a confirmation once their age is confirmed, and a button will be shown to go back to the website.
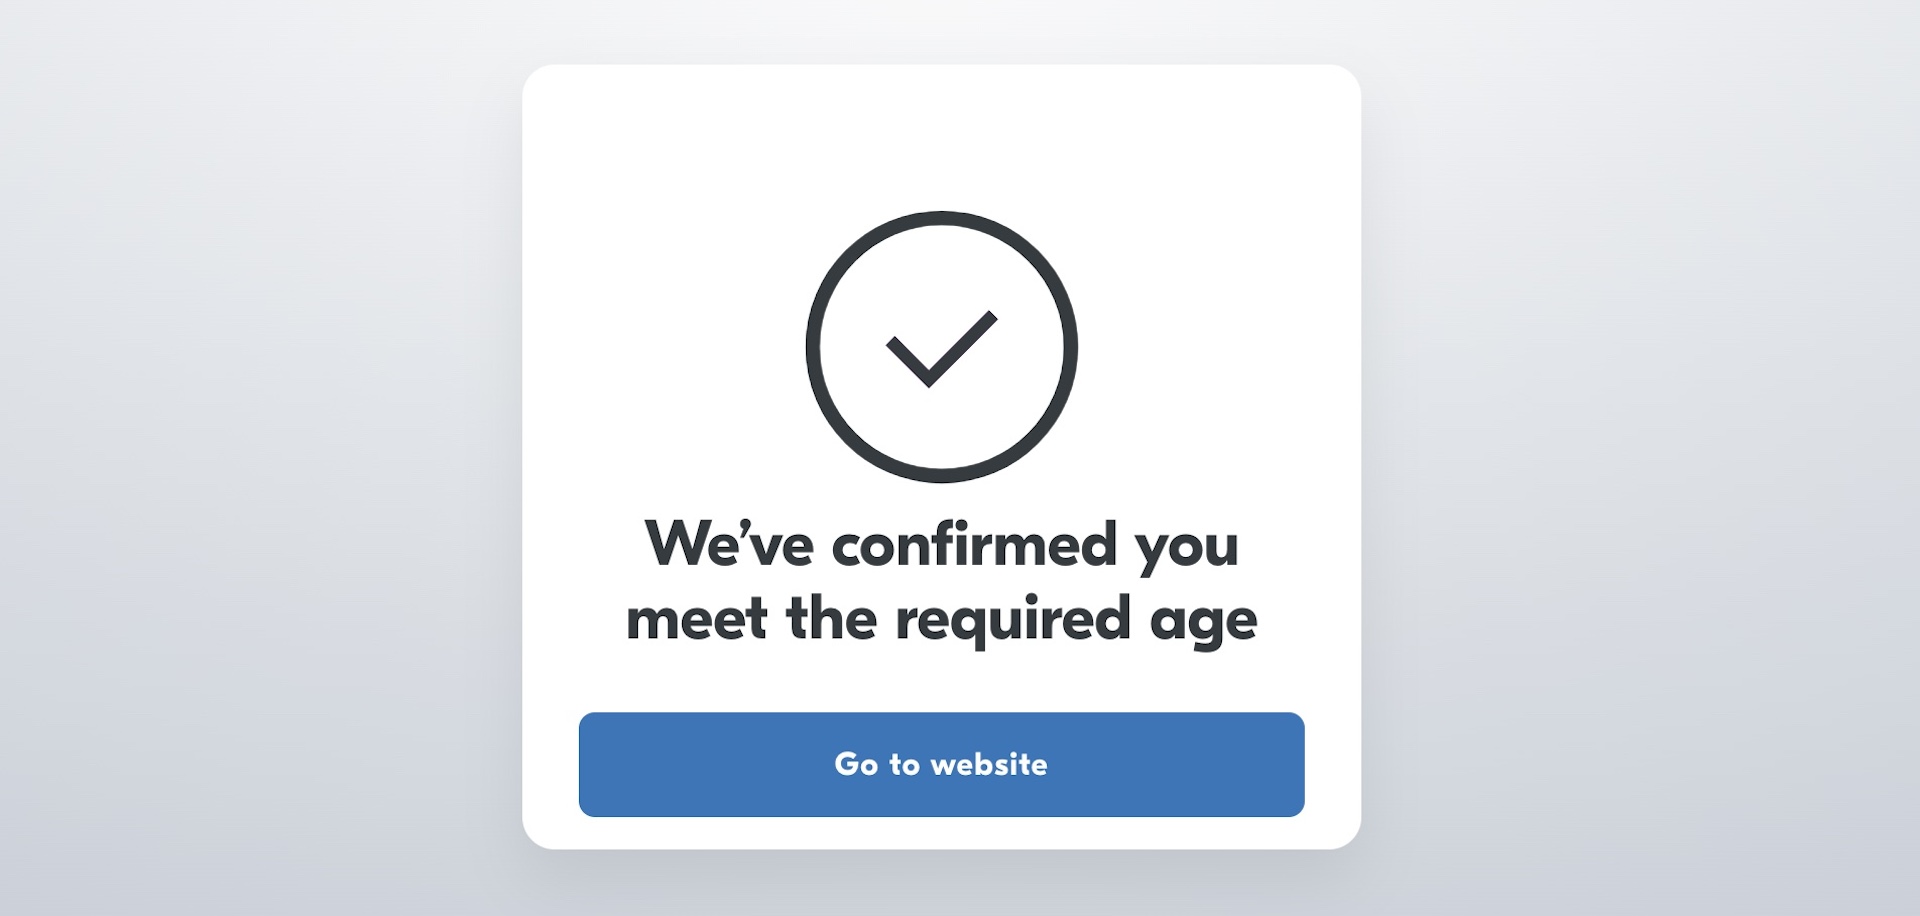
Age confirmed
- They will then be redirected to the WordPress site and a thank-you message will be shown.
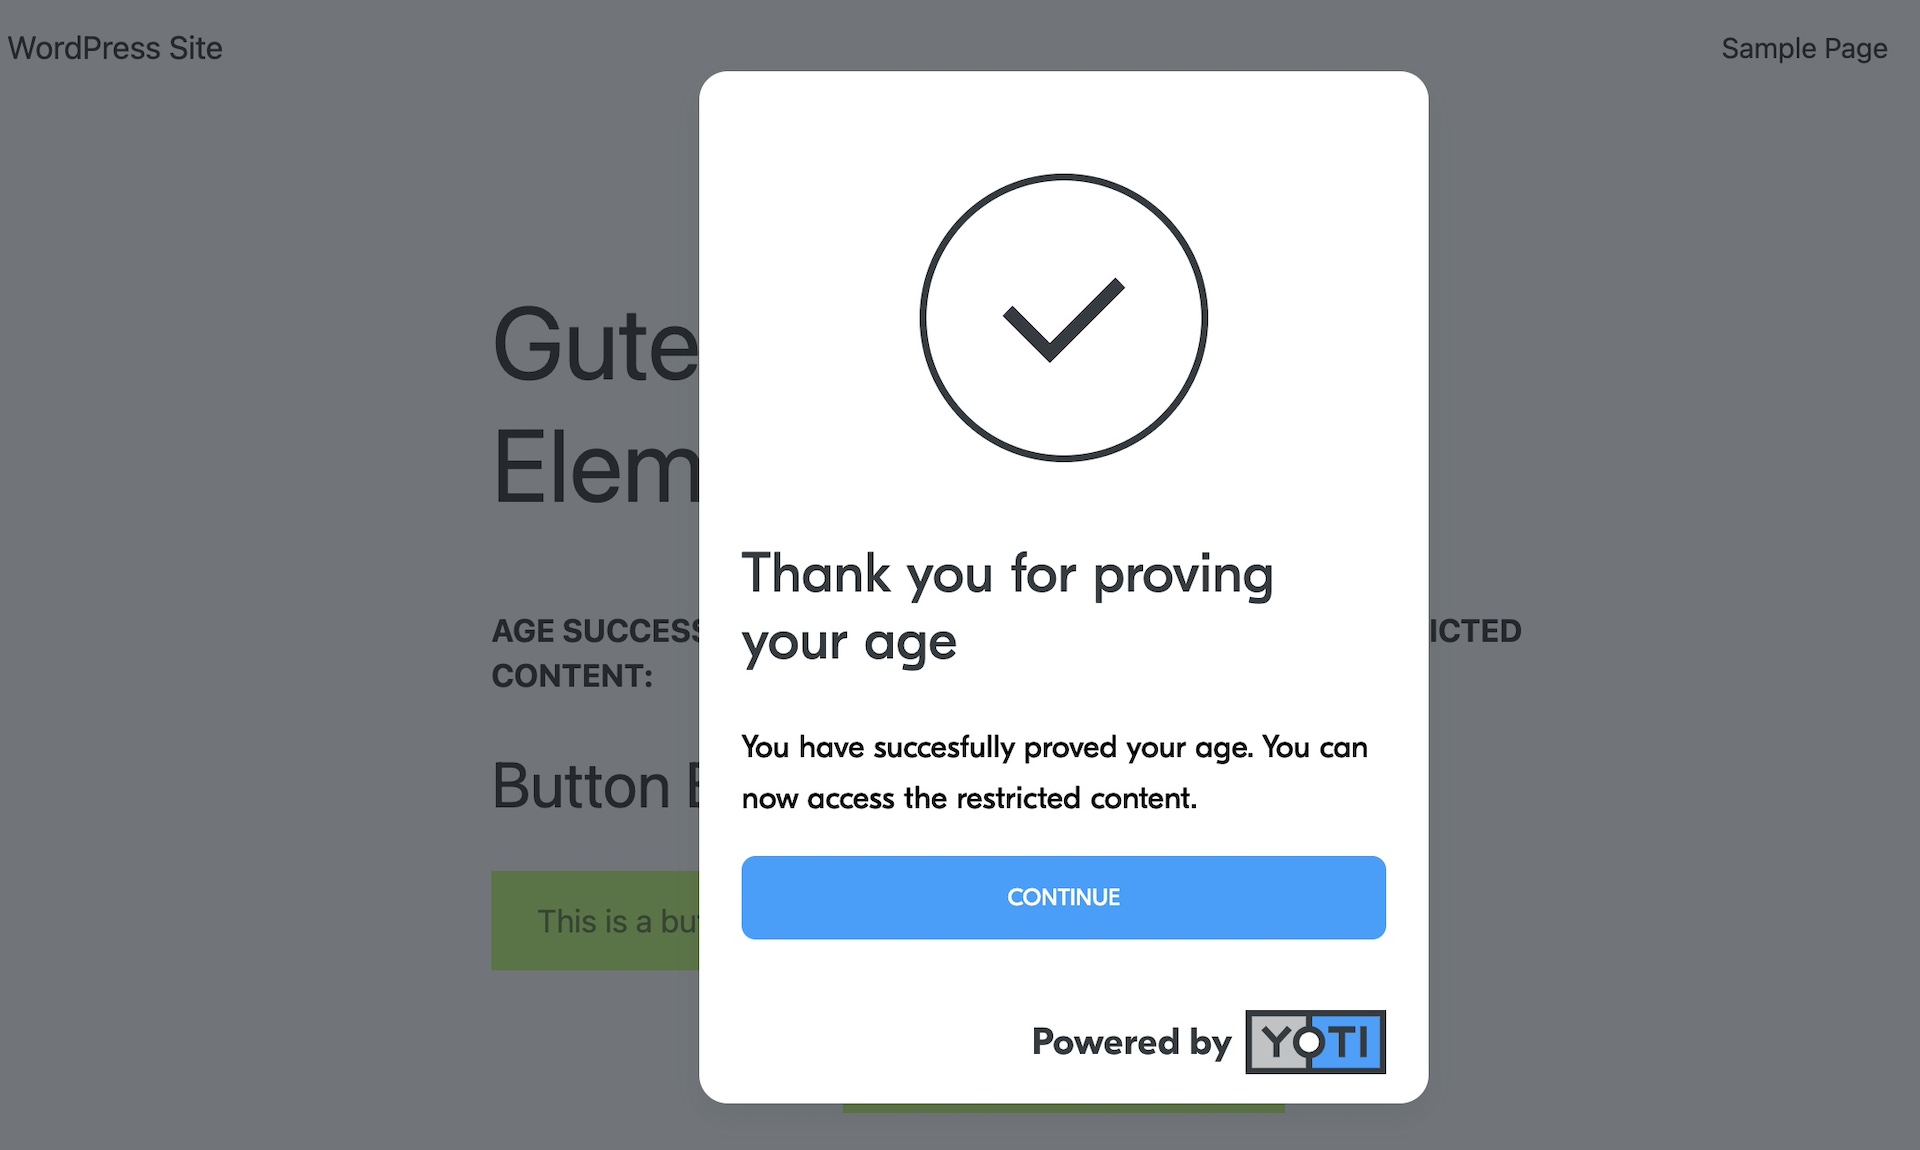
Age Verification Thank-you
Review the results
Head to your WordPress admin page.
- Open the Users page by going to 'Users -> All Users'
- The 'Age Verification Status' for each user will be shown along with the verification details
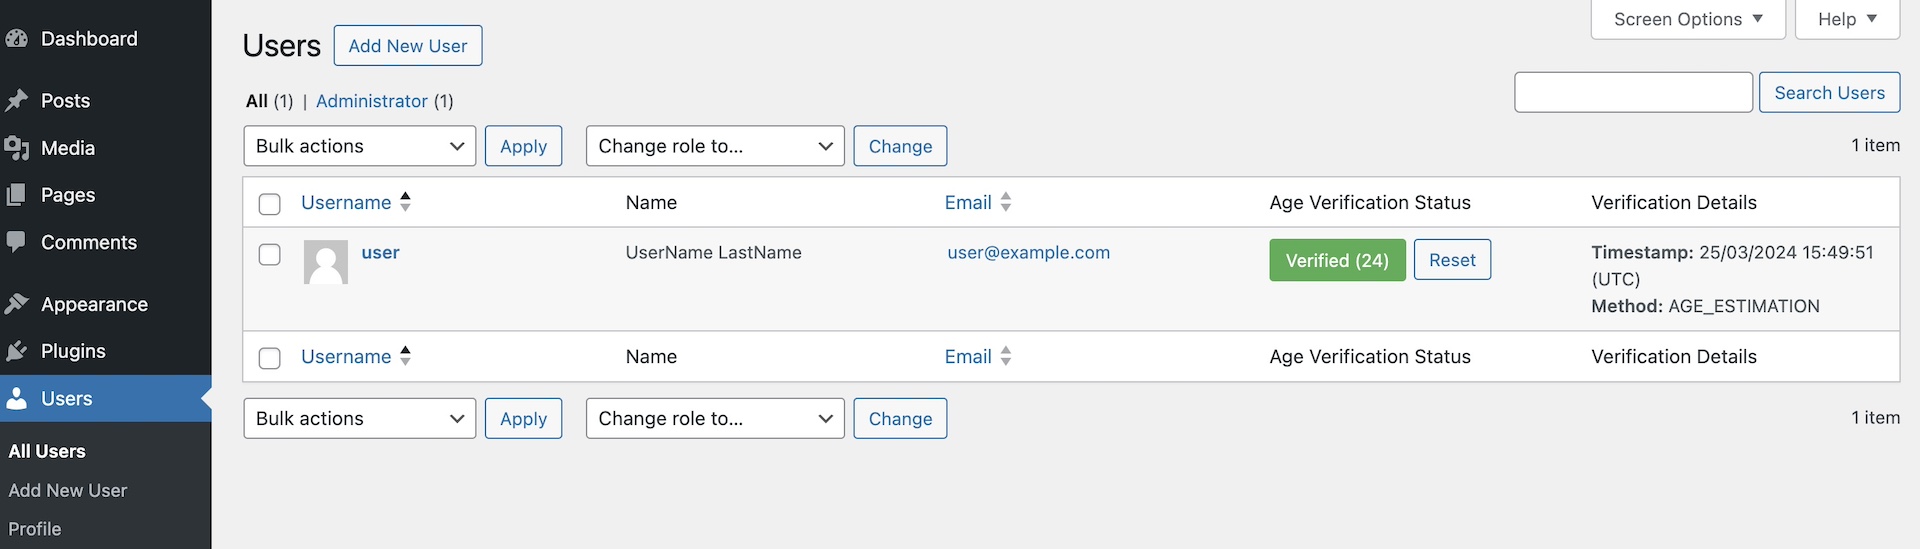
Users page