
In the previous section we saw how to create a session request, which returns:
Session ID
We then use these to construct a URL which loads the Yoti Client. The URL can be used in the following ways:
Within an iFrame on your webpage
As a link on your webpage
As a link shared securely with a user
Hint This is only for sessions where the UI needs to be launched
URL component | Description |
|---|---|
sessionId | The session ID from the Yoti session create response. |
sdkId | This is your SDK ID provided to you by Yoti. |
Once the Yoti Client has launched it will take the user through the age verification flow. The user will be redirected to the specified call back URL on completion of one of the age verification methods.
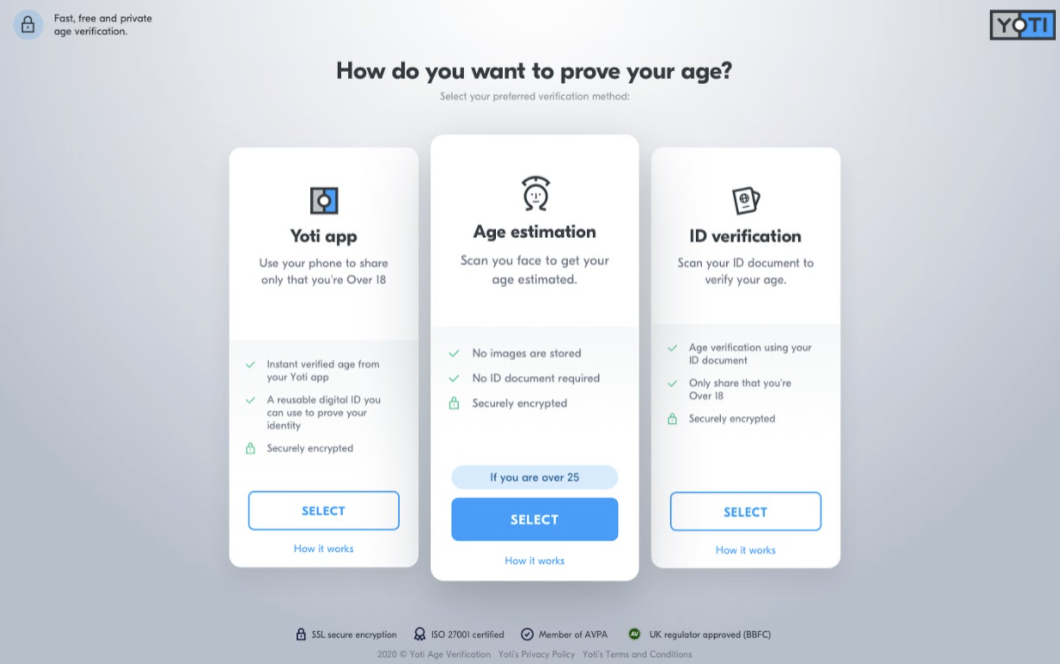
Preferred method
If you wish to encourage a particular age verification method to be used first, you can launch the user directly into your specified method. Doing so will mandate the option, but still allow any other enable methods to be retried in case a user does not meet the desired threshold.
The user interface may be themed to make the UI appear closer to your own web page. Theming allows your user to have a consistent experience navigating through your website and into the age verification flow.
The following items can be customised:
Background colour
Body font colour
Body buttons
Card buttons
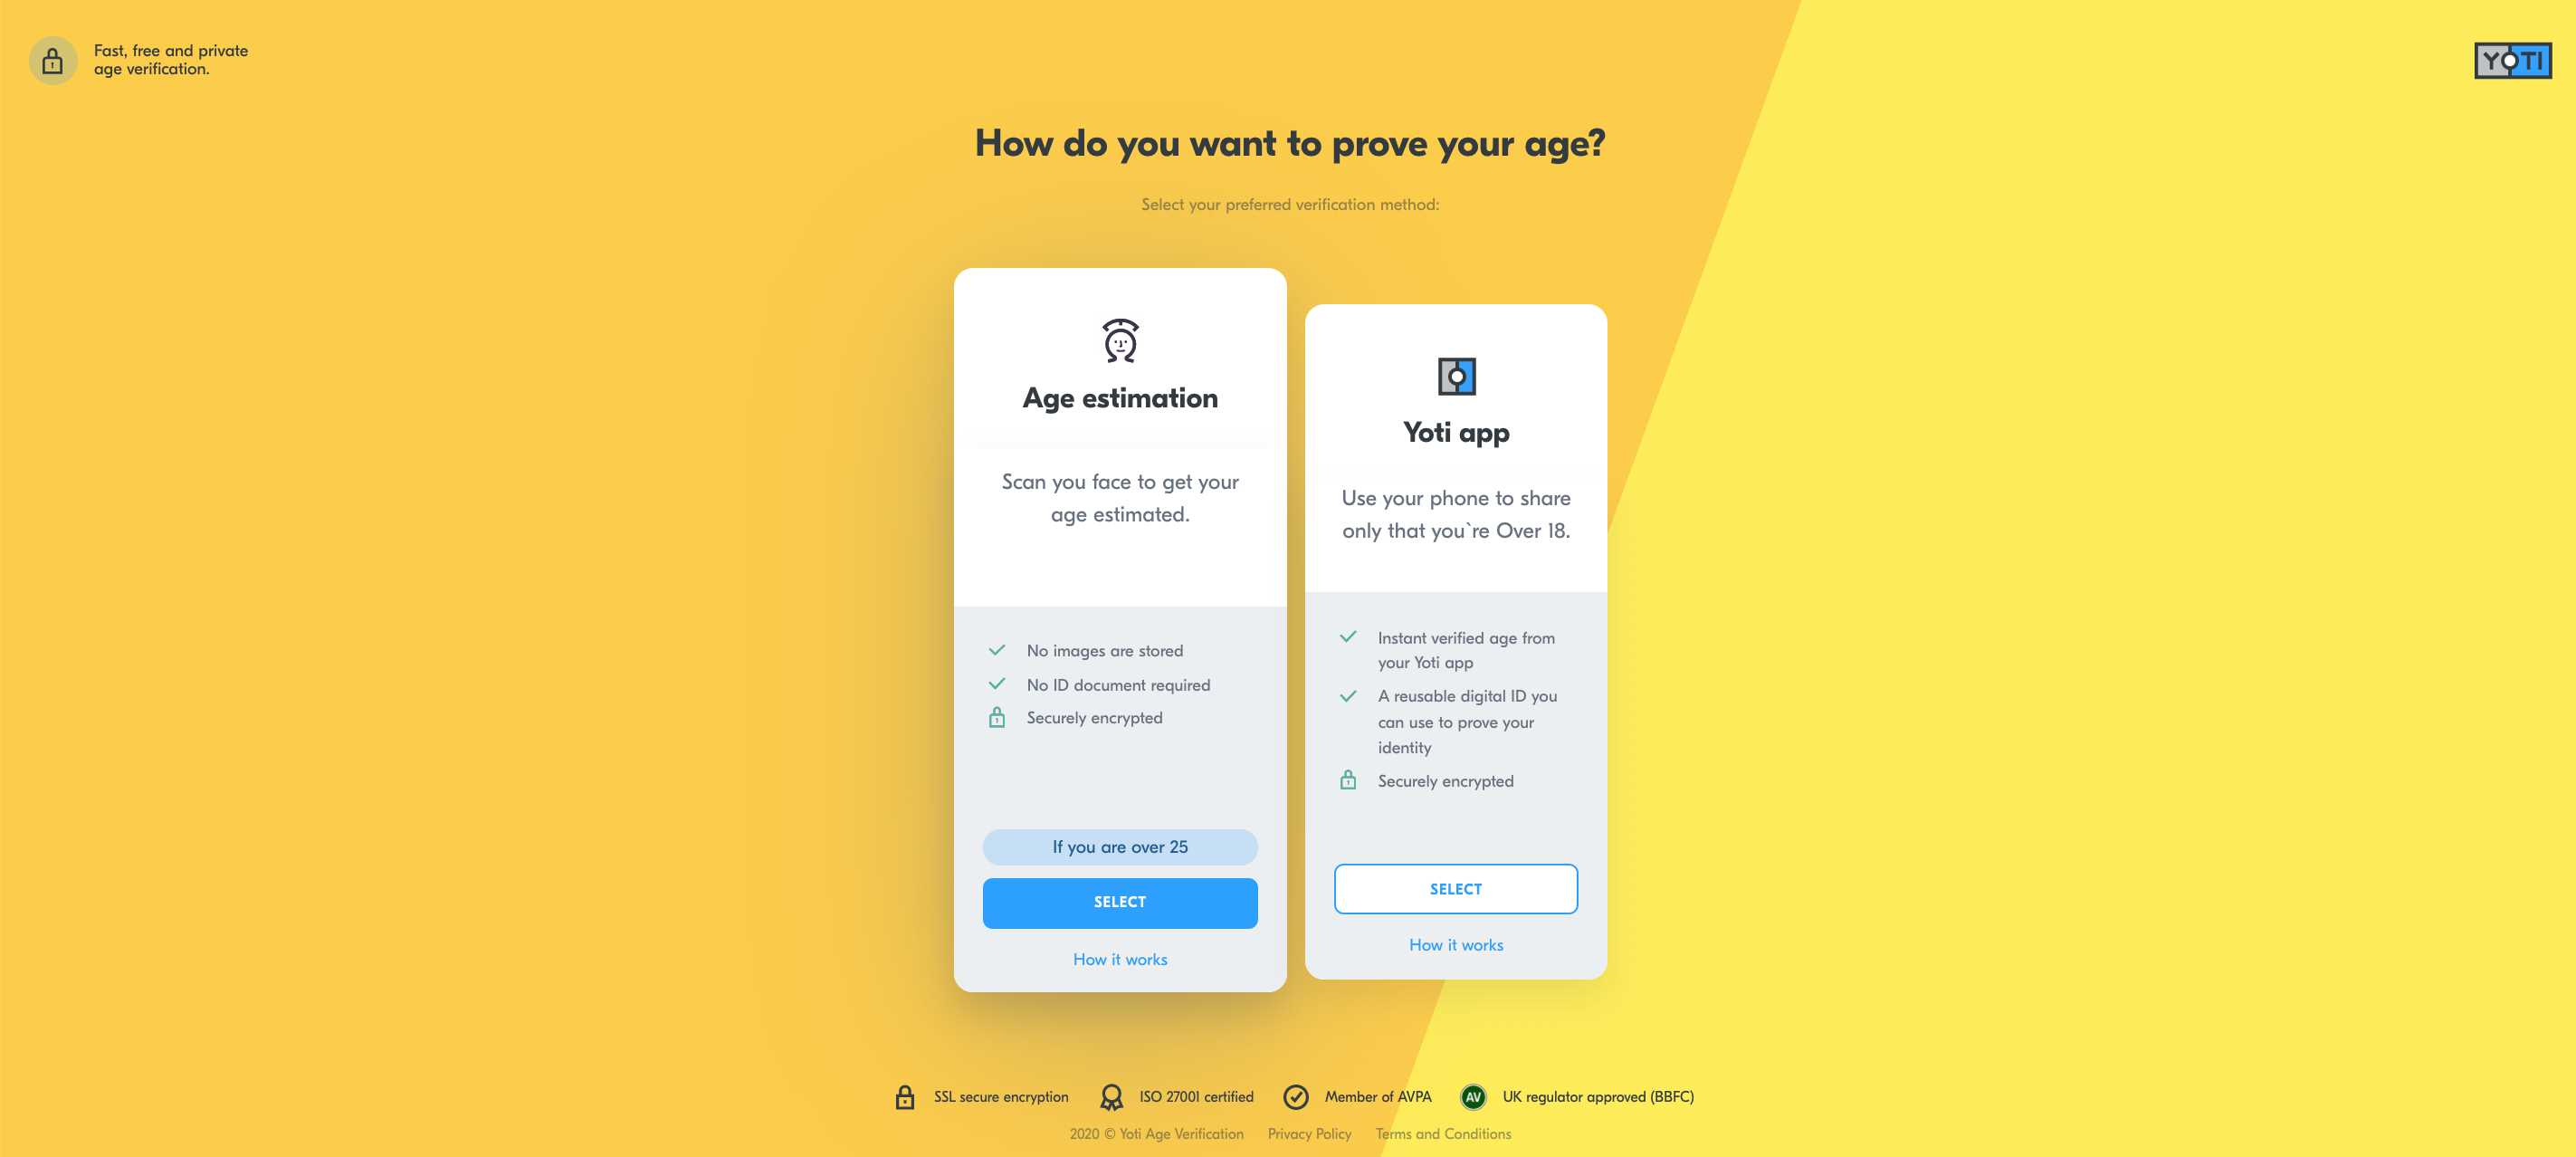
Hint Themes are assigned per SDK ID and cannot be dynamically changed at session creation.